




Table of Contents
- Introduction
- Understanding the Mechanics of Mayurasana
- Preparing Your Body for the Lift
- Step-by-Step Instructions
- Troubleshooting Your Balance
- The Role of Nutrition and Recovery
- Advanced Variations and Modifications
- Building a Sustainable Routine
- Conclusion
- FAQ
Introduction
Peacock pose, or Mayurasana, is often considered one of the most visually striking and physically demanding arm balances in yoga. Unlike other balances that rely primarily on shoulder strength, this pose requires a unique combination of core stability, wrist flexibility, and a deep understanding of your body’s center of gravity. It is a posture that challenges your patience as much as your physical limits, asking you to find stillness while balancing your entire body weight on your elbows.
At Cymbiotika, we believe that mastering advanced physical movements starts with a foundation of internal health and structural integrity. This guide is designed to break down the complexities of Mayurasana into manageable steps. We will cover the necessary preparation for your joints, the specific mechanics of the lift, and how to support your body's recovery through high-quality nutrition.
By the end of this article, you will understand the anatomical requirements of peacock pose and have a clear roadmap for safely integrating it into your practice. We will focus on the importance of preparation and the role that bioavailability and liposomal delivery play in keeping your connective tissues resilient.
Understanding the Mechanics of Mayurasana
The peacock pose is essentially a lesson in leverage. In most arm balances, such as crow pose, your weight is distributed across a broader base. In Mayurasana, your entire torso and legs are balanced on a single fulcrum point: your elbows tucked into your abdomen. This requires a significant amount of "intra-abdominal pressure" and a strong, stable core to prevent the body from collapsing.
The center of gravity is the most important factor in this pose. Because your legs are heavy and your head and chest are relatively light in comparison, you must shift your weight much further forward than feels intuitive. Your chin will often hover just inches from the floor before your feet ever leave the ground.
Wrist extension is the second critical component. Most people do not spend their day with their wrists in deep extension, especially with the fingers pointing back toward the feet. This orientation is necessary for peacock pose to create a stable "shelf" for the body. If your wrists are tight, the pose can feel impossible or even painful, making preparation exercises non-negotiable.
Key Takeaway: Mayurasana is a balance of leverage rather than pure strength; shifting your weight forward is the secret to finding lift.
Preparing Your Body for the Lift
You cannot simply jump into peacock pose without warming up the specific tissues involved. This pose puts intense pressure on the wrists, forearms, and the digestive organs. Before attempting the full expression, you should focus on three key areas: wrist mobility, core engagement, and forearm strength.
Developing Wrist Mobility
To prepare the wrists, start on your hands and knees. Turn your hands so that your fingers point back toward your knees. Gently lean back, keeping the palms flat on the mat, to stretch the inner forearms. Hold this for 30 seconds. Next, flip the hands so the backs of the hands are on the floor, fingers still pointing back, to stretch the opposite side.
Strengthening the Core
A "hollow body" position is essential for Mayurasana. You can practice this by lying on your back and lifting your head, shoulders, and legs a few inches off the ground, pressing your lower back firmly into the mat. This mimics the tension needed to keep your legs and torso as a single, rigid unit while balancing on your elbows.
Forearm and Elbow Placement
The "shelf" is created by bringing the elbows together as closely as possible. For beginners, the elbows often slide out toward the ribs, which causes the balance to collapse. Practicing the feeling of hugging the elbows into the midline while in a modified plank can help build the necessary muscle memory.
Step-by-Step Instructions
Once you have warmed up, you can begin the process of entering the pose. It is helpful to practice on a non-slip surface and perhaps keep a block or cushion near your face in case you tip forward.
Step 1: Position your hands.
Start in a kneeling position. Place your hands on the mat with the pinky fingers touching and the fingers pointing back toward your toes. This hand orientation is traditional and provides the most stable base for the elbows.
Step 2: Create the shelf.
Bend your elbows and tuck them deeply into your abdomen, ideally just below the ribs on either side of the navel. You may need to lean forward slightly to "hook" the elbows into the belly.
Step 3: Extend the legs.
Walk your feet back one at a time until your legs are straight and your weight is supported by your toes and your hands. Your torso should now be resting on your upper arms.
Step 4: Shift the weight forward.
This is the most critical step. Slowly shift your weight forward by leaning your chest and head toward the front of the mat. As your weight moves forward, your feet will naturally become lighter.
Step 5: Lift and hold.
Engage your glutes and core to lift your feet off the floor. Keep your body in a straight line, parallel to the mat. Gaze forward rather than straight down to help maintain balance.
Quick Answer: To do peacock pose, place your hands with fingers pointing back, tuck your elbows into your abdomen, and lean your weight far forward until your legs lift off the ground.
Troubleshooting Your Balance
Many practitioners struggle with Mayurasana because it feels uncomfortable in the abdomen or too heavy in the wrists. If your feet won't lift, it usually means you haven't shifted your center of gravity far enough forward. You must be willing to let your head move well past your fingertips.
If your elbows keep sliding out, your base is unstable. This often happens if the skin is sweaty or the clothes are slippery. Practicing on bare skin or using a strap around the upper arms to keep the elbows at shoulder-width can be a helpful training tool.
Abdominal discomfort is common when first learning the pose. The pressure of the elbows on the internal organs can feel intense. We recommend practicing this pose on an empty stomach. Over time, the core muscles will learn to engage against the elbows, creating a protective buffer.
Myth: You need massive biceps to do peacock pose.
Fact: Success in Mayurasana comes from core tension and proper weight distribution, not the size of your arm muscles.
The Role of Nutrition and Recovery
Advanced yoga poses like peacock pose place significant stress on the connective tissues, specifically the tendons and ligaments of the wrists and shoulders. To maintain a consistent practice, you must provide your body with the raw materials it needs to repair these tissues.
Nutritional support is only as effective as its bioavailability—the degree to which a substance is absorbed and used by the body. Many standard supplements use cheap binders and fillers that the body cannot easily process. For more on this topic, explore how liposomes support nutrient delivery.
Supporting Joint and Connective Tissue
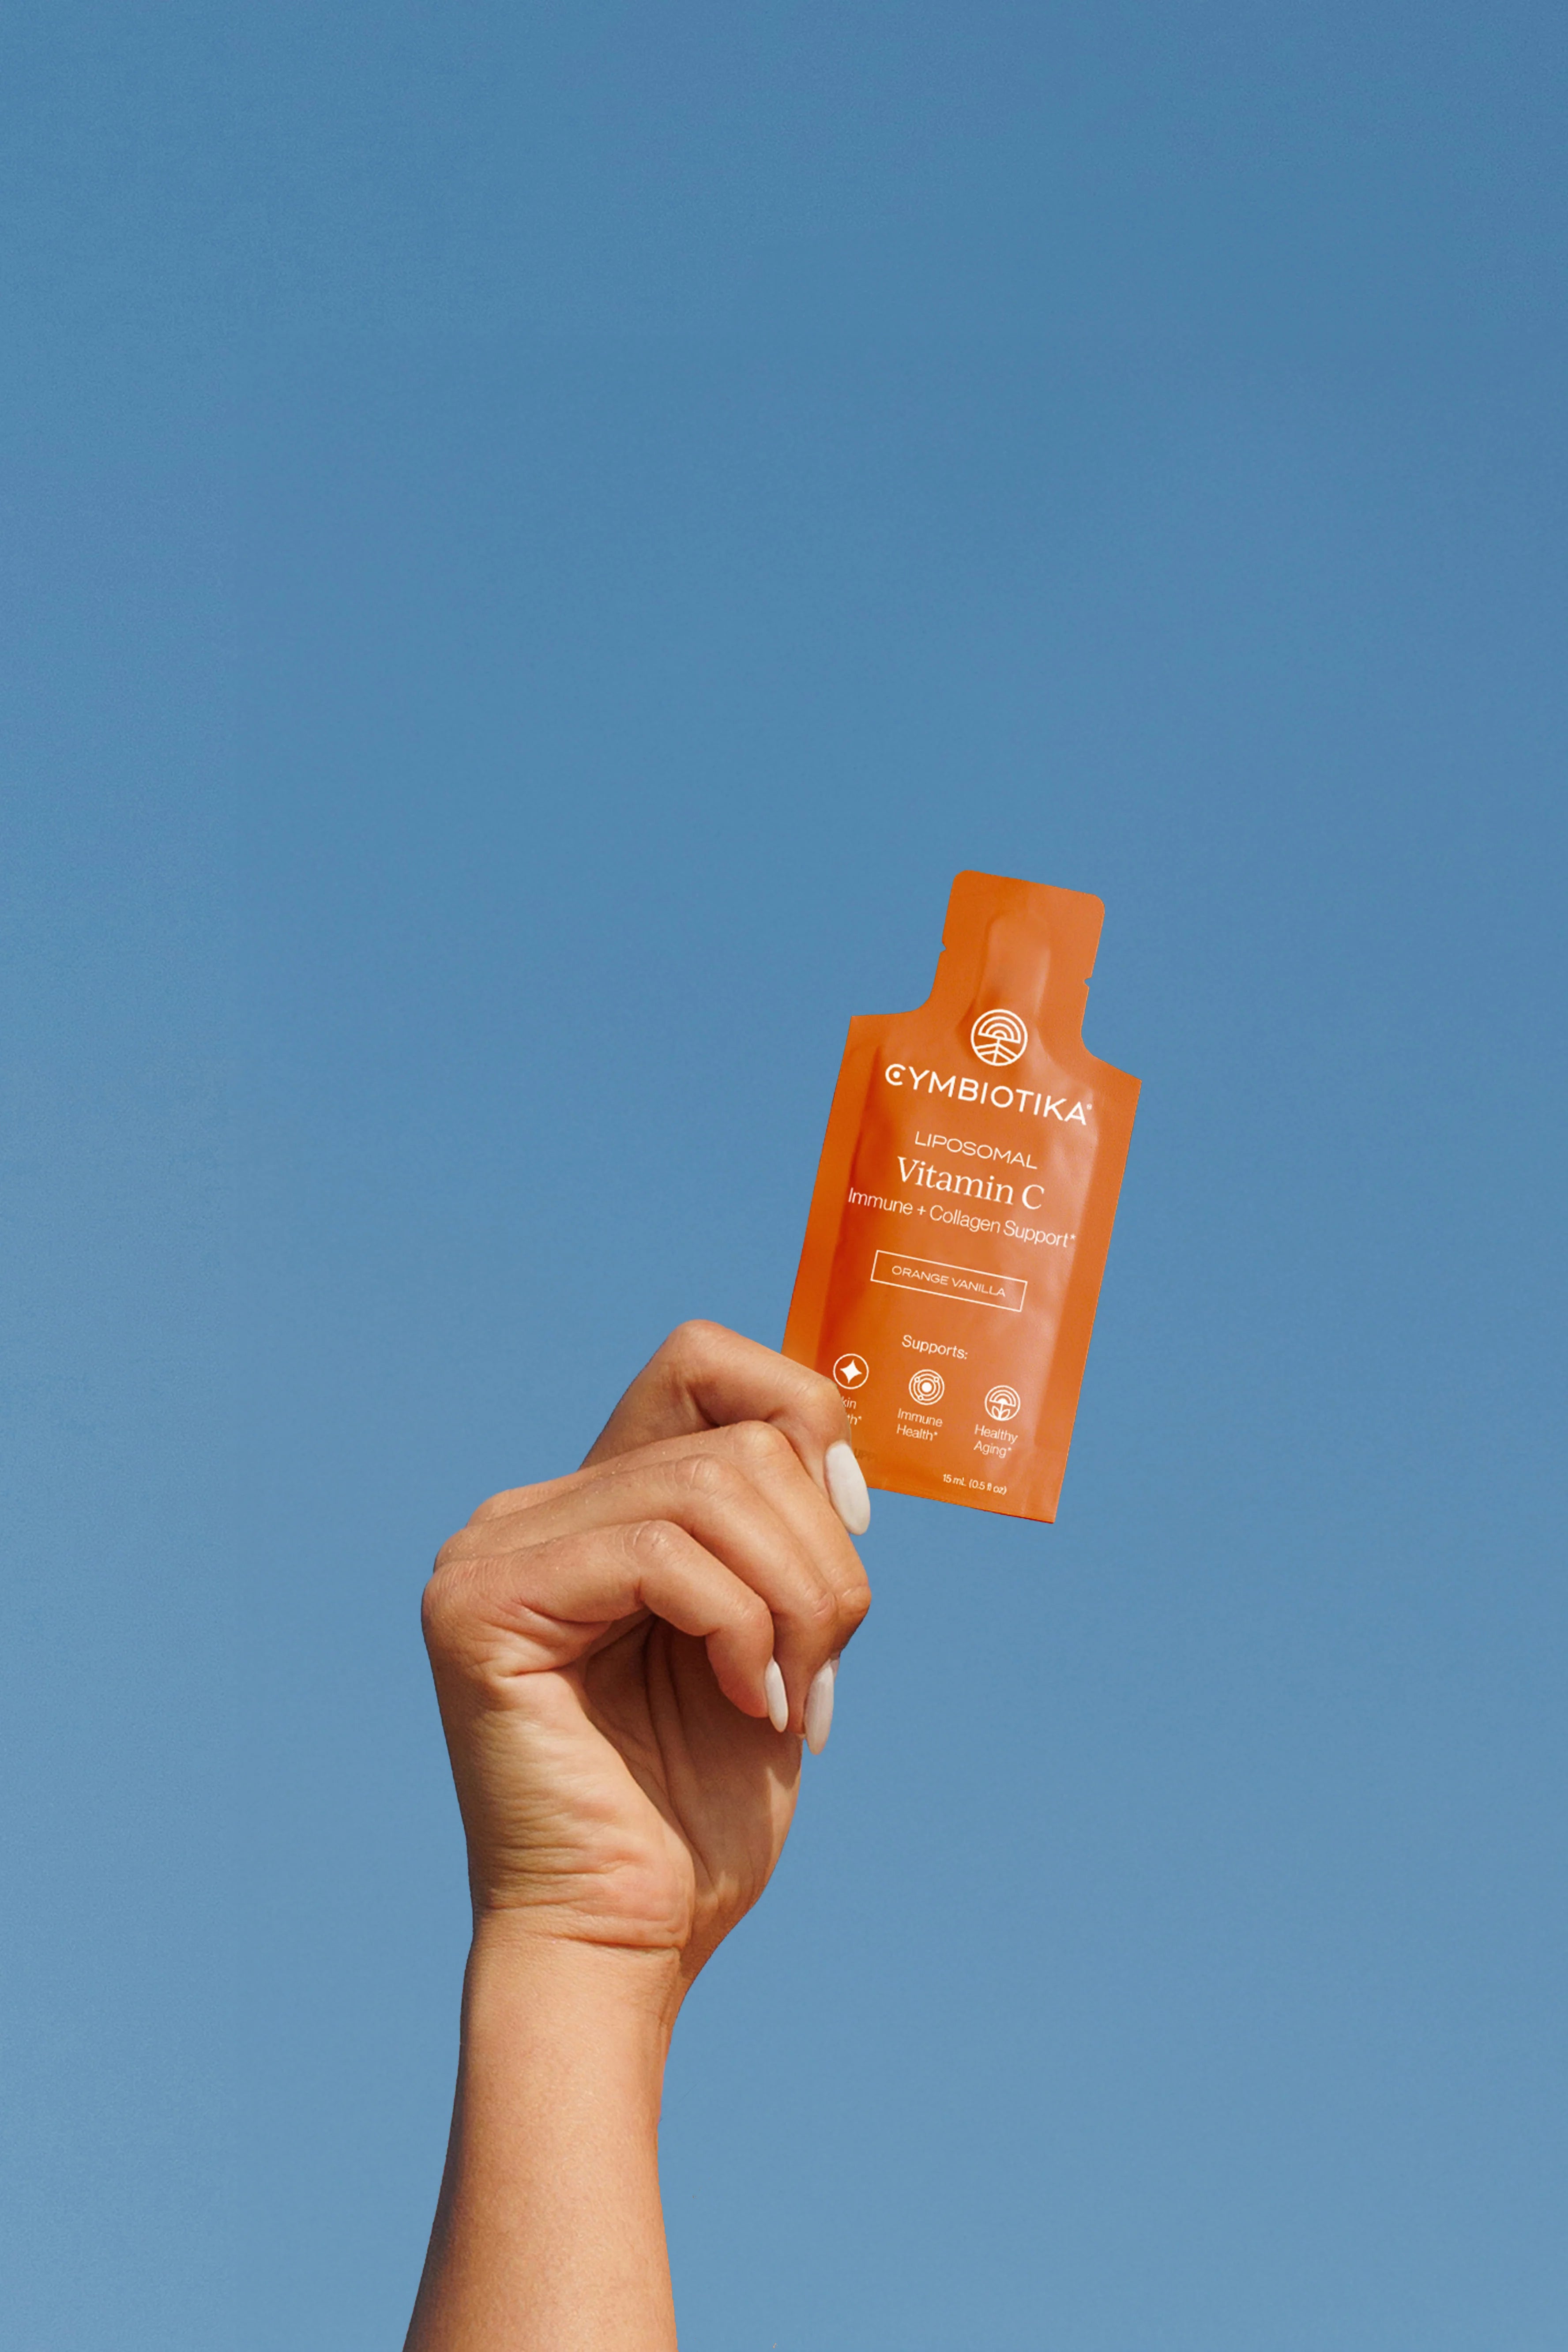
To support the wrists and elbows, we often look to nutrients like Vitamin C and Omega-3 fatty acids. Vitamin C is a critical cofactor for collagen synthesis, which is the primary protein in your tendons. Our Liposomal Vitamin C is designed to support absorption at the cellular level. Liposomal delivery involves wrapping the nutrient in a phospholipid bilayer—a tiny bubble of fat that protects the vitamin from being broken down in the digestive tract, allowing it to enter the bloodstream more efficiently.
Muscle Relaxation and Recovery
After a session of intense arm balances, your muscles may feel tight or fatigued. Magnesium is an essential mineral for muscle relaxation and nervous system support. Many people find that a high-quality Magnesium Complex helps reduce post-practice tension. You can also explore the broader Recovery collection for additional wellness support.
| Nutrient | Benefit for Yoga Practice | Recommended Delivery |
|---|---|---|
| Magnesium | Supports muscle relaxation and sleep quality | Liposomal or Complex blends |
| Omega-3s | Supports joint mobility and healthy inflammatory response | High-purity liquid or Liposomal |
| Vitamin C | Essential for collagen production in tendons | Liposomal for maximum absorption |
| Molecular Hydrogen | Supports cellular energy and antioxidant status | Dissolvable tablets for water |
The Molecular Hydrogen tablets are another option mentioned in the recovery context of a consistent wellness routine.
Bottom line: Your ability to progress in advanced poses depends heavily on how well your body recovers, which is why choosing supplements with high bioavailability is essential.
Advanced Variations and Modifications
If the full version of peacock pose is not yet accessible, there are several ways to modify the movement to build strength without risking injury.
Using Blocks
Place two yoga blocks under your hands to give yourself more height. This provides extra space for your torso and can make it easier to find the "shelf" for your elbows. You can also place a block under your feet to help you experience the feeling of the lift before you have the full core strength to hold it.
One Leg at a Time
Instead of trying to lift both legs simultaneously, keep one foot on the floor and lift the other. Switch legs frequently. This builds the specific forearm and core strength needed for the full pose while keeping the balance manageable.
Lotus Peacock (Padma Mayurasana)
For those who have a comfortable lotus pose, performing Mayurasana with the legs in Padmasana can actually be easier for some. The compact nature of the folded legs brings the weight closer to the center of gravity, requiring less forward lean to achieve lift.
Building a Sustainable Routine
Mastering peacock pose is a marathon, not a sprint. Consistency is far more valuable than intensity. We suggest practicing the preparation movements daily, but only attempting the full lift two or three times a week to avoid overtaxing the wrists.
Note: Listen to your body's signals. If you feel sharp pain in the wrists or elbows, stop immediately. Dull muscle soreness is part of the process, but joint pain indicates a need for rest or better alignment.
A sustainable routine also includes hydration and targeted supplementation. We suggest starting your day with a focused routine that supports your long-term goals. Using our Health Quiz can help you identify which nutrients your body needs most based on your activity level and wellness goals.
Conclusion
How to do peacock pose yoga is a question of understanding both physical leverage and internal resilience. By focusing on wrist mobility, core stability, and the subtle shift of your center of gravity, you can gradually work toward this challenging arm balance. Remember that the journey is just as important as the pose itself; the strength and focus you build during preparation will serve you in all areas of your practice.
At Cymbiotika, our mission is to empower you with the tools you need to take ownership of your health. We prioritize transparency and science-forward formulations because we believe you deserve supplements that actually work. Whether you are working toward your first Mayurasana or looking to refine your daily wellness routine, our Healthy Aging collection offers another area to explore as part of a long-term wellness approach.
- Start with consistent wrist and core preparation.
- Prioritize bioavailability in your recovery supplements.
- Practice patience and consistency over perfection.
Key Takeaway: Progress in yoga is a reflection of how well you care for your body both on and off the mat; prioritize recovery to support your performance.
FAQ
Is peacock pose safe for beginners?
Peacock pose is an advanced posture that requires significant wrist and core strength, so it is generally not recommended for absolute beginners. It is best to build a foundation with poses like plank, chaturanga, and crow pose before attempting Mayurasana. If you are new to the pose, use modifications like blocks or keeping one foot on the floor to stay safe.
Why do my wrists hurt during peacock pose?
Wrist pain usually occurs because the pose requires a deep level of extension that the joints are not yet used to. It can also happen if your weight is not shifted far enough forward, causing the wrists to bear the load at an awkward angle. Focus on consistent wrist mobility exercises and ensure your fingers are pointing back toward your feet to create a more stable base.
Can I practice peacock pose every day?
While you can practice the preparation exercises daily, it is often better to attempt the full pose only a few times a week. The intense pressure on the wrists and forearms requires adequate recovery time to prevent strain. Always listen to your body and take a rest day if you feel any lingering soreness in your joints.
Should I do peacock pose on an empty stomach?
Yes, it is highly recommended to practice Mayurasana on an empty stomach. Because the elbows press directly into the abdominal region, having food in your system can be very uncomfortable and may interfere with your ability to engage your core. Most practitioners find it best to wait at least two to three hours after a meal before attempting this pose.
*These statements have not been evaluated by the Food and Drug Administration. This product is not intended to diagnose, treat, cure, or prevent any disease.