


Table of Contents
- Introduction
- Understanding the Foundation of Lotus Pose
- The Importance of Hip Mobility
- Preparatory Poses for Lotus Pose
- How to Do Lotus Pose Yoga: Step-by-Step
- Safety Guidelines and Modifications
- Building a Routine for Success
- Why Bioavailability Matters for Athletes and Yogis
- The Mental Aspect of Lotus Pose
- The Role of Consistency and Trust
- Conclusion
- FAQ
Introduction
Lotus Pose, or Padmasana, is perhaps the most iconic image in the world of yoga. It symbolizes stability, groundedness, and the unfolding of one’s potential. While it may look like a simple seated position, it is actually an advanced posture that requires significant external rotation in the hips and a high degree of flexibility in the lower body. For many practitioners, mastering this pose is a long-term goal that reflects a deep commitment to their physical and mental practice.
At Cymbiotika, we believe that achieving physical milestones like Lotus Pose starts with a foundation of internal health and structural integrity. This post covers everything you need to know about preparing your body for the pose, a step-by-step guide to the posture itself, and how to stay safe during the process. We also explore how supporting your body at a cellular level can help you maintain the flexibility and recovery needed for a consistent yoga practice, especially when you’re looking for support that aligns with our Healthy Aging Supplements collection. Our goal is to empower you to move with intention and care.
Understanding the Foundation of Lotus Pose
Lotus Pose is a cross-legged seated position that serves as an anchor for deep meditation and breathwork. The name comes from the Sanskrit word "Padma," which means lotus. Just as a lotus flower is rooted in the mud but rises above the water to bloom, this pose is designed to ground the lower body while allowing the spine to reach upward. This creates a stable base that many find helpful for maintaining focus during long periods of stillness.
Before you attempt the full expression of the pose, it is important to understand the mechanics of the movement. The primary movement occurs in the hip joints. If the hips are tight, the body may try to compensate by putting pressure on the knee joints. Because the knees are hinge joints and are not designed to rotate, this compensation can lead to discomfort.
Success in Lotus Pose is not about force. It is about creating space in the pelvis and ensuring the connective tissues are resilient and hydrated. When we approach advanced yoga poses, we must look at the body as an integrated system. Your progress on the mat is often a reflection of your recovery and nutritional status off the mat.
The Importance of Hip Mobility
The secret to a safe Lotus Pose lies in the hips. The femur, or thigh bone, must be able to rotate externally within the hip socket. If this rotation is limited, the lower leg cannot fold over the opposite thigh without straining the ligaments of the knee. For most people, hip tightness is a result of modern lifestyles that involve prolonged sitting.
To prepare for Lotus Pose, you must dedicate time to opening the hip flexors, adductors, and the deep lateral rotators. This is not a process that happens overnight. It requires consistent practice and a focus on "bioavailability" in your movement—ensuring that the stretches you perform actually reach the targeted tissues without being blocked by tension or poor alignment.
Why Joint Support Matters
Just as we focus on how well our bodies absorb nutrients, we should consider how well our joints "absorb" the stress of a yoga practice. Maintaining healthy cartilage and synovial fluid is essential for the smooth rotation required in Padmasana. Supplements designed to support the body’s natural inflammatory response can be helpful here.
Standard supplements often struggle with low absorption rates, meaning the ingredients never reach the joints where they are needed most. We focus on liposomal delivery to solve this problem. A liposomal delivery system uses a phospholipid bilayer—a tiny bubble made of the same material as your cell membranes—to protect nutrients as they pass through the digestive system. This design is intended to support absorption at the cellular level, helping your body get the most out of every dose. For a deeper look at that process, explore Ask Dr. Shilpa: Liposomes 101.
Key Takeaway: Lotus Pose requires external hip rotation, not knee twisting. Preparing the hips through targeted mobility work is the only way to perform the pose safely.
Preparatory Poses for Lotus Pose
You should never jump straight into Lotus Pose without a thorough warm-up. The following poses are designed to target the specific areas needed for Padmasana. Spend at least five to ten breaths in each of these before attempting the final pose.
Bound Angle Pose (Baddha Konasana)
This pose is excellent for opening the inner thighs and groins. Sit on the floor, bring the soles of your feet together, and let your knees fall out to the sides. Avoid pushing your knees down with your hands; instead, allow gravity to do the work. If your hips are very tight, sit on a folded blanket to tilt your pelvis forward.
Pigeon Pose (Eka Pada Rajakapotasana)
Pigeon pose is one of the most effective ways to target the outer hips and piriformis. From a tabletop position, bring your right knee forward toward your right wrist. Extend your left leg straight back. Keep your hips square to the front of the mat. This creates the external rotation in the front hip that is foundational for Lotus.
Cradle the Baby
This dynamic stretch mimics the leg position of Lotus Pose while you are in a seated or standing position. While seated, pick up your right leg and place the foot in the crook of your left elbow and the knee in the crook of your right elbow. Gently rock the leg side to side. This helps you gauge your current range of hip rotation without the weight of the rest of your body pressing down on the joints.
Half Lotus (Ardha Padmasana)
Half Lotus is the direct stepping stone to the full pose. It involves placing one foot on the opposite thigh while the other foot remains tucked under the opposite leg. If you can sit comfortably in Half Lotus for several minutes on both sides, you may be ready to try the full version.
How to Do Lotus Pose Yoga: Step-by-Step
Once your hips are warm and you feel a sense of ease in your lower body, you can begin to transition into the full pose. Move slowly and listen to the feedback your body provides.
Step 1: Start in Dandasana
Sit on your mat with your legs extended straight in front of you. This is Staff Pose. Ensure your weight is evenly distributed across your sit bones. Lengthen your spine and reach the crown of your head toward the ceiling.
Step 2: Prepare the First Leg
Bend your right knee and draw your right foot toward your chest. Use your hands to gently guide the foot toward your left hip crease. The goal is to place the top of the right foot high up on the left thigh. Ensure your right ankle remains straight and is not "sickling" or bending awkwardly.
Step 3: Integrate the Second Leg
Lean back slightly to create space. Bend your left knee and reach for your left foot. Carefully lift the left leg and draw it over the crossed right leg. Place the left foot into the right hip crease. Both knees should now be resting on or near the floor.
Step 4: Refine the Posture
Once both feet are in place, sit tall. Rest your hands on your knees with your palms facing up in a mudra (hand gesture) or palms down for grounding. Relax your shoulders away from your ears and soften your gaze.
Step 5: Exit Mindfully
Do not simply pop out of the pose. Use your hands to lift your legs gently and extend them back into Dandasana. It is helpful to shake out the legs or perform a few ankle circles to restore circulation. Always repeat the pose with the opposite leg on top to maintain balance in the body.
Quick Answer: To do Lotus Pose, sit with an upright spine and fold each foot onto the opposite thigh, placing the heels close to the hip creases. It requires deep hip flexibility and should only be attempted after a thorough warm-up of the hips and glutes.
Safety Guidelines and Modifications
Lotus Pose is not for everyone, and that is perfectly okay. Yoga is about the journey of the body, not reaching a specific aesthetic. Forcing yourself into this position can lead to strain in the delicate ligaments of the knee or ankle.
Respect Your Limits
If you feel any sharp pain, especially in the knees, back out of the pose immediately. This is a sign that your hips are not yet open enough to accommodate the rotation. There is no shame in staying in a modification for months or even years.
Use Props
Props are not a sign of weakness; they are tools for better alignment.
- Blankets: Sitting on a folded blanket raises the hips above the knees, which can reduce the intensity of the stretch and help maintain a natural curve in the lower back.
- Blocks: If your knees do not reach the floor in Lotus or Half Lotus, place a block under the floating knee for support. This prevents the leg from hanging in space, which can pull on the hip joint.
Managing Inflammation and Recovery
A vigorous yoga practice can lead to temporary muscle soreness or joint stiffness. Supporting your body's recovery process is vital for progress. Our Inflammatory Health formula is designed to support the body’s natural response to physical exertion. By using liposomal technology, we ensure that the active ingredients are delivered effectively, helping you return to your mat feeling refreshed. If recovery support is a priority in your routine, you may also want to browse the Recovery-focused supplements we’ve curated.
Key Takeaway: Never force Lotus Pose. Use props like blankets or blocks to support your joints, and prioritize recovery to ensure your practice remains sustainable.
Building a Routine for Success
If you want to master Lotus Pose, consistency is more important than intensity. A ten-minute daily hip-opening routine will yield better results than a two-hour session once a week. You can integrate these movements into your morning routine or use them as a way to wind down in the evening.
Morning Movement
Start your day with a few rounds of Cat-Cow and Bound Angle Pose. This wakes up the spine and begins the process of opening the pelvis. When you pair this with a clean nutrition routine, you give your body the building blocks it needs for flexibility. For a broader starting point, the Energy & Focus collection can be a helpful place to explore daytime support.
Nutritional Foundations
Flexibility is not just about stretching muscles; it is about the health of your fascia and connective tissues. Proper hydration and essential fatty acids play a major role in how "pliable" your tissues feel. We offer The Omega, which provides high-quality essential fatty acids designed for brain and heart health, but also for supporting joint lubrication. Because we use advanced delivery methods, these fats are more readily available for your body to use. If you’re building a daily wellness routine from the ground up, the Health Quiz can help personalize your next step.
Nightly Recovery
Evening is a great time for longer, passive holds like Pigeon Pose. While you hold these stretches, focus on deep, diaphragmatic breathing. This shifts the nervous system into a "rest and digest" state, which allows the muscles to release more deeply. You might also consider a topical or internal magnesium supplement to help the muscles relax before sleep. Our Magnesium Complex is designed to support the nervous system and muscle function, making it an excellent addition to a nightly wellness ritual, alongside the Sleep Supplements collection.
Why Bioavailability Matters for Athletes and Yogis
In the wellness industry, many products make big claims but fail to deliver results because the body simply cannot process the ingredients. This is why we are so focused on bioavailability. Whether you are taking a Probiotic for gut health or a Vitamin D3 for immune support, the delivery mechanism determines the efficacy. For more on this idea, see What Is K2 MK7 Vitamin? Benefits and Sourcing.
When it comes to yoga and physical performance, your body needs specific nutrients to repair tissues and maintain joint comfort. Standard pills and powders often have a low "utilization rate." By choosing formulations that prioritize absorption, such as liposomal liquids or high-quality mineral complexes like our Pürblack Pure Mineral Shilajit Live Resin, you are ensuring that your cells actually receive the support they need.
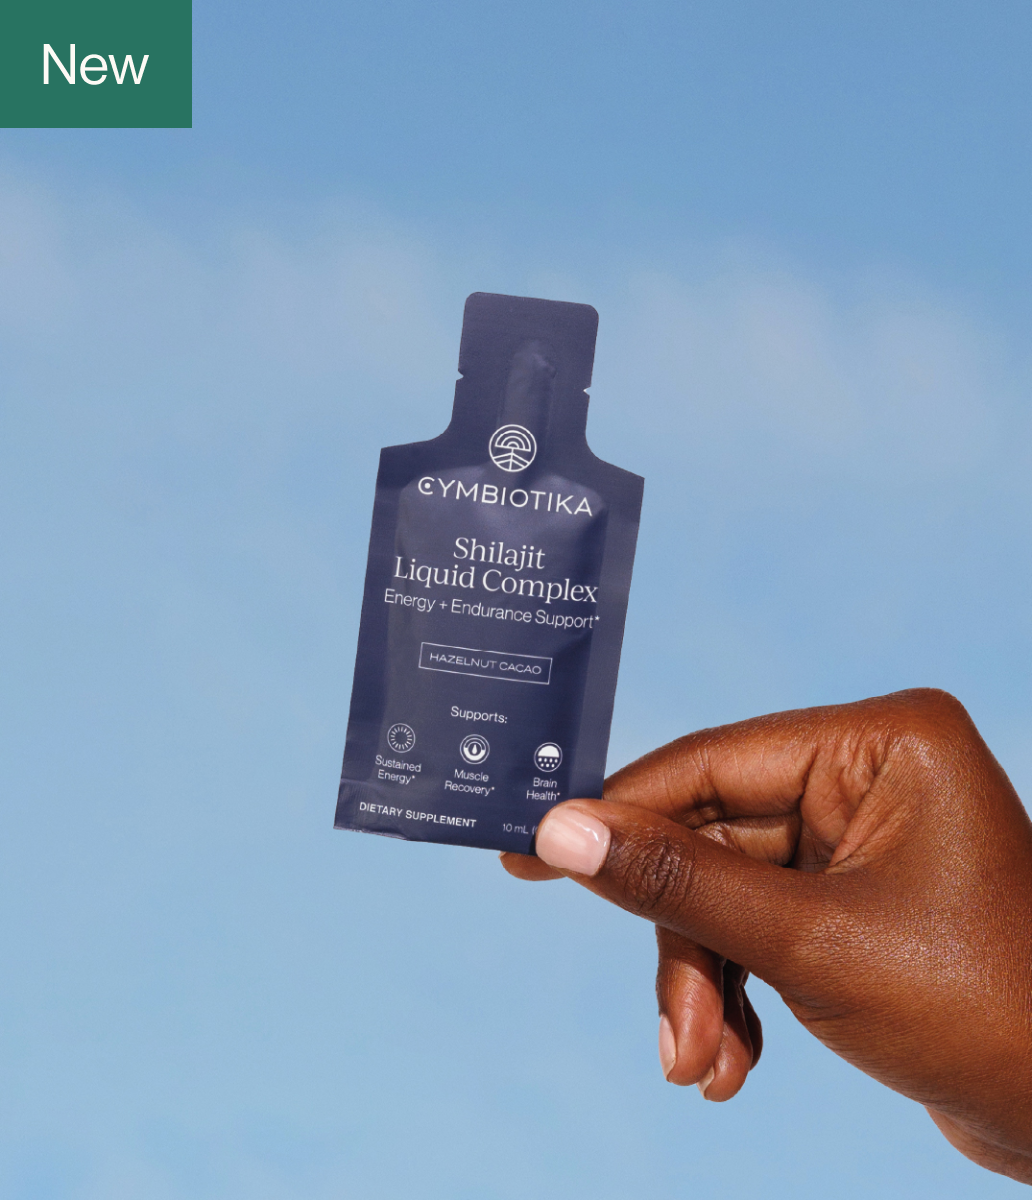
Shilajit, for example, is a mineral-rich substance that has been used for centuries in traditional wellness. It may support energy levels and mineral balance, which are essential for anyone maintaining a demanding physical practice like yoga. When your internal environment is optimized, your external practice often feels more fluid and less strained.
The Mental Aspect of Lotus Pose
While the physical steps of "how to do lotus pose yoga" are important, the mental component is equally significant. Padmasana is a pose of stillness. In our fast-paced culture, sitting still can be more challenging than any physical stretch.
When you are in the pose, notice where your mind goes. Do you feel impatient? Do you feel a need to move to the next thing? Use your breath to stay present. This mental discipline is the true "yoga" behind the physical posture. By creating a stable seat in the body, you create a stable environment for the mind.
Action Steps for Your Practice:
- Step 1: Assess your current hip mobility with the "Cradle the Baby" stretch.
- Step 2: Commit to five minutes of hip-opening poses every day for two weeks.
- Step 3: Evaluate your current supplement routine. Ask yourself: "Is my body actually absorbing these nutrients?"
- Step 4: Use the Health Quiz on our website to find a personalized routine that supports your specific physical goals, whether that is flexibility, energy, or recovery.
The Role of Consistency and Trust
Progress in yoga is rarely linear. Some days your hips will feel open and fluid; other days they will feel tight and restricted. This is a natural part of the human experience. The key is to trust the process and remain consistent.
We believe that wellness starts with trust—trust in the quality of what you put in your body and trust in your body's ability to evolve. By combining science-forward supplementation with a dedicated physical practice, you can build a routine that supports your long-term health and vitality.
Our commitment to transparency means we never hide behind proprietary blends. We want you to know exactly what you are taking and why it works. When you empower yourself with knowledge and high-quality tools, you aren't just buying a product; you are investing in a lifestyle that values longevity and mindful movement. If you want to keep learning about how we think about formulation and delivery, take a look at Why We Made It: Liposomal NAD+.
Bottom line: Mastering Lotus Pose is a journey of both the body and the mind, supported by consistent practice, safe alignment, and cellular-level nutrition.
Conclusion
Lotus Pose is a powerful tool for grounding and meditation, but it requires respect and preparation. By focusing on hip mobility, utilizing props, and listening to your body's signals, you can work toward this iconic pose safely. Remember that your progress is supported by more than just what you do on the mat. Providing your body with bioavailable nutrients—designed for maximum absorption—can make a meaningful difference in your flexibility and recovery.
At Cymbiotika, we are dedicated to providing clean, transparent, and science-backed formulations that help you reach your wellness goals. We believe that when your body is supported at the cellular level, you have the freedom to move, explore, and grow. Whether you are a seasoned yogi or just beginning your journey, we are here to support every step of the way.
- Focus on hip rotation rather than knee bending.
- Warm up thoroughly with Pigeon and Bound Angle poses.
- Prioritize recovery with bioavailable supplements like Magnesium and Omega fatty acids.
- Stay consistent and patient with your body's unique timeline.
Key Takeaway: True wellness is an integrated approach that combines mindful movement with high-quality, bioavailable nutrition to support the body’s natural ability to perform and recover.
For those looking to tailor their wellness routine to their specific needs, we invite you to take our Health Quiz. This tool is designed to provide you with personalized recommendations based on your lifestyle and goals, helping you build a routine you can truly trust.
FAQ
Is Lotus Pose bad for your knees?
Lotus Pose is not inherently bad for the knees, but it can be dangerous if performed with tight hips. If the hips do not rotate enough, the rotational force is transferred to the knee joint, which is only meant to flex and extend. To stay safe, always prioritize hip opening and stop if you feel any discomfort in the knee.
How long does it take to learn Lotus Pose?
The timeline for mastering Lotus Pose varies greatly depending on your starting flexibility, anatomy, and consistency. For some, it may take a few months of dedicated hip work, while for others, it may take years. It is important to treat the pose as a long-term journey rather than a destination.
Can I do Lotus Pose if I have tight hips?
If you have tight hips, it is best to practice preparatory poses and modifications like Half Lotus or sitting on a block. Attempting the full pose with very tight hips can lead to injury. Consistent practice of hip-opening stretches will gradually increase your range of motion.
Why do my legs fall asleep in Lotus Pose?
Legs falling asleep, or "pins and needles," is usually caused by pressure on the nerves or a slight restriction in blood flow. This often happens if the feet are not positioned correctly or if there is too much tension in the groin. Try adjusting your alignment, sitting on a cushion, or shortening the time you spend in the pose.
*These statements have not been evaluated by the Food and Drug Administration. This product is not intended to diagnose, treat, cure, or prevent any disease.