Table of Contents
- Introduction
- The Science of Topical Absorption
- DIY Vitamin C Serum for Brightening
- Hydrating Hyaluronic Acid Serum
- Customized Face Oil Serums by Skin Type
- The Role of Internal Nutrients in Skin Health
- Safety Protocols for DIY Skincare
- How to Build a Routine for Lasting Radiance
- Maximizing Bioavailability with Liposomal Technology
- Why Quality Sourcing Matters
- Troubleshooting Common DIY Serum Issues
- Conclusion
- FAQ
Introduction
Getting that healthy, lit-from-within glow often feels like a balancing act between the products you apply and the nutrients you consume. Many people are turning to DIY skincare to take control of their ingredients and avoid the synthetic fillers often found in commercial products. Making your own serum is an empowering way to customize your routine while ensuring you know exactly what is touching your skin.
At Cymbiotika, we believe that true wellness is a synergy of external care and internal support. While topical treatments are a vital part of a skincare routine, they work best when paired with high-quality nutrition that supports your body at the cellular level. This guide will walk you through the process of creating effective homemade serums while explaining the science of how these ingredients interact with your skin.
We will cover recipes for brightening, hydration, and soothing, along with the safety protocols necessary for working with raw ingredients. You will also learn why bioavailability—the measure of how well your body absorbs a substance—is just as important for your skin as it is for your supplements. By the end of this article, you will have the tools to build a comprehensive routine that supports a radiant complexion from the inside out.
The Science of Topical Absorption
Your skin is your largest organ and acts as a protective barrier against the environment. Because its primary job is to keep things out, getting beneficial ingredients to penetrate the skin's surface can be a challenge. When you make a serum at home, you are essentially creating a delivery vehicle for active ingredients like antioxidants, vitamins, and fatty acids.
Bioavailability is the key to understanding why some serums work better than others. In the world of skincare, this refers to how much of an active ingredient actually reaches the deeper layers of the skin where it can be most effective. Many DIY ingredients have large molecular structures that sit on top of the skin rather than soaking in. This is why we focus so heavily on liposomal delivery in our ingestible formulas; it uses a phospholipid bilayer (a fat-based shell) to help nutrients pass through cellular membranes more efficiently. If you want a deeper look at the concept, explore our guide on All About Liposomes.
Applying this logic to DIY skincare means choosing "carrier" oils that mimic the skin's natural sebum. Oils like jojoba or squalane are often more easily accepted by the skin's barrier. When you mix active ingredients into these carriers, you increase the chances of those nutrients being absorbed rather than just evaporating or sitting on the surface.
Key Takeaway: The effectiveness of any serum, whether homemade or professional, depends on its ability to bypass the skin's outer barrier and deliver active nutrients to the underlying cells.
DIY Vitamin C Serum for Brightening
Vitamin C is one of the most researched ingredients for supporting a bright and even skin tone. It is a powerful antioxidant that helps protect the skin from environmental stressors like pollution and UV rays. However, Vitamin C is notoriously unstable. When exposed to light, air, or water, it can oxidize quickly, losing its potency and potentially irritating the skin.
Ingredients You Will Need
- 1 teaspoon Vitamin C powder (L-ascorbic acid)
- 1 teaspoon vegetable glycerin
- 2 teaspoons distilled water
- A dark glass dropper bottle
Step-by-Step Instructions
- Dissolve the powder. Mix the L-ascorbic acid powder with the distilled water in a small glass bowl. Stir until the granules are completely dissolved.
- Add the glycerin. Stir in the vegetable glycerin. This acts as a humectant, which means it helps pull moisture into the skin and gives the serum a smooth texture.
- Transfer and store. Pour the mixture into a dark glass bottle to protect it from light.
- Test the pH. Ideally, a Vitamin C serum should have a pH between 3.0 and 3.5 to be effective without causing excessive irritation.
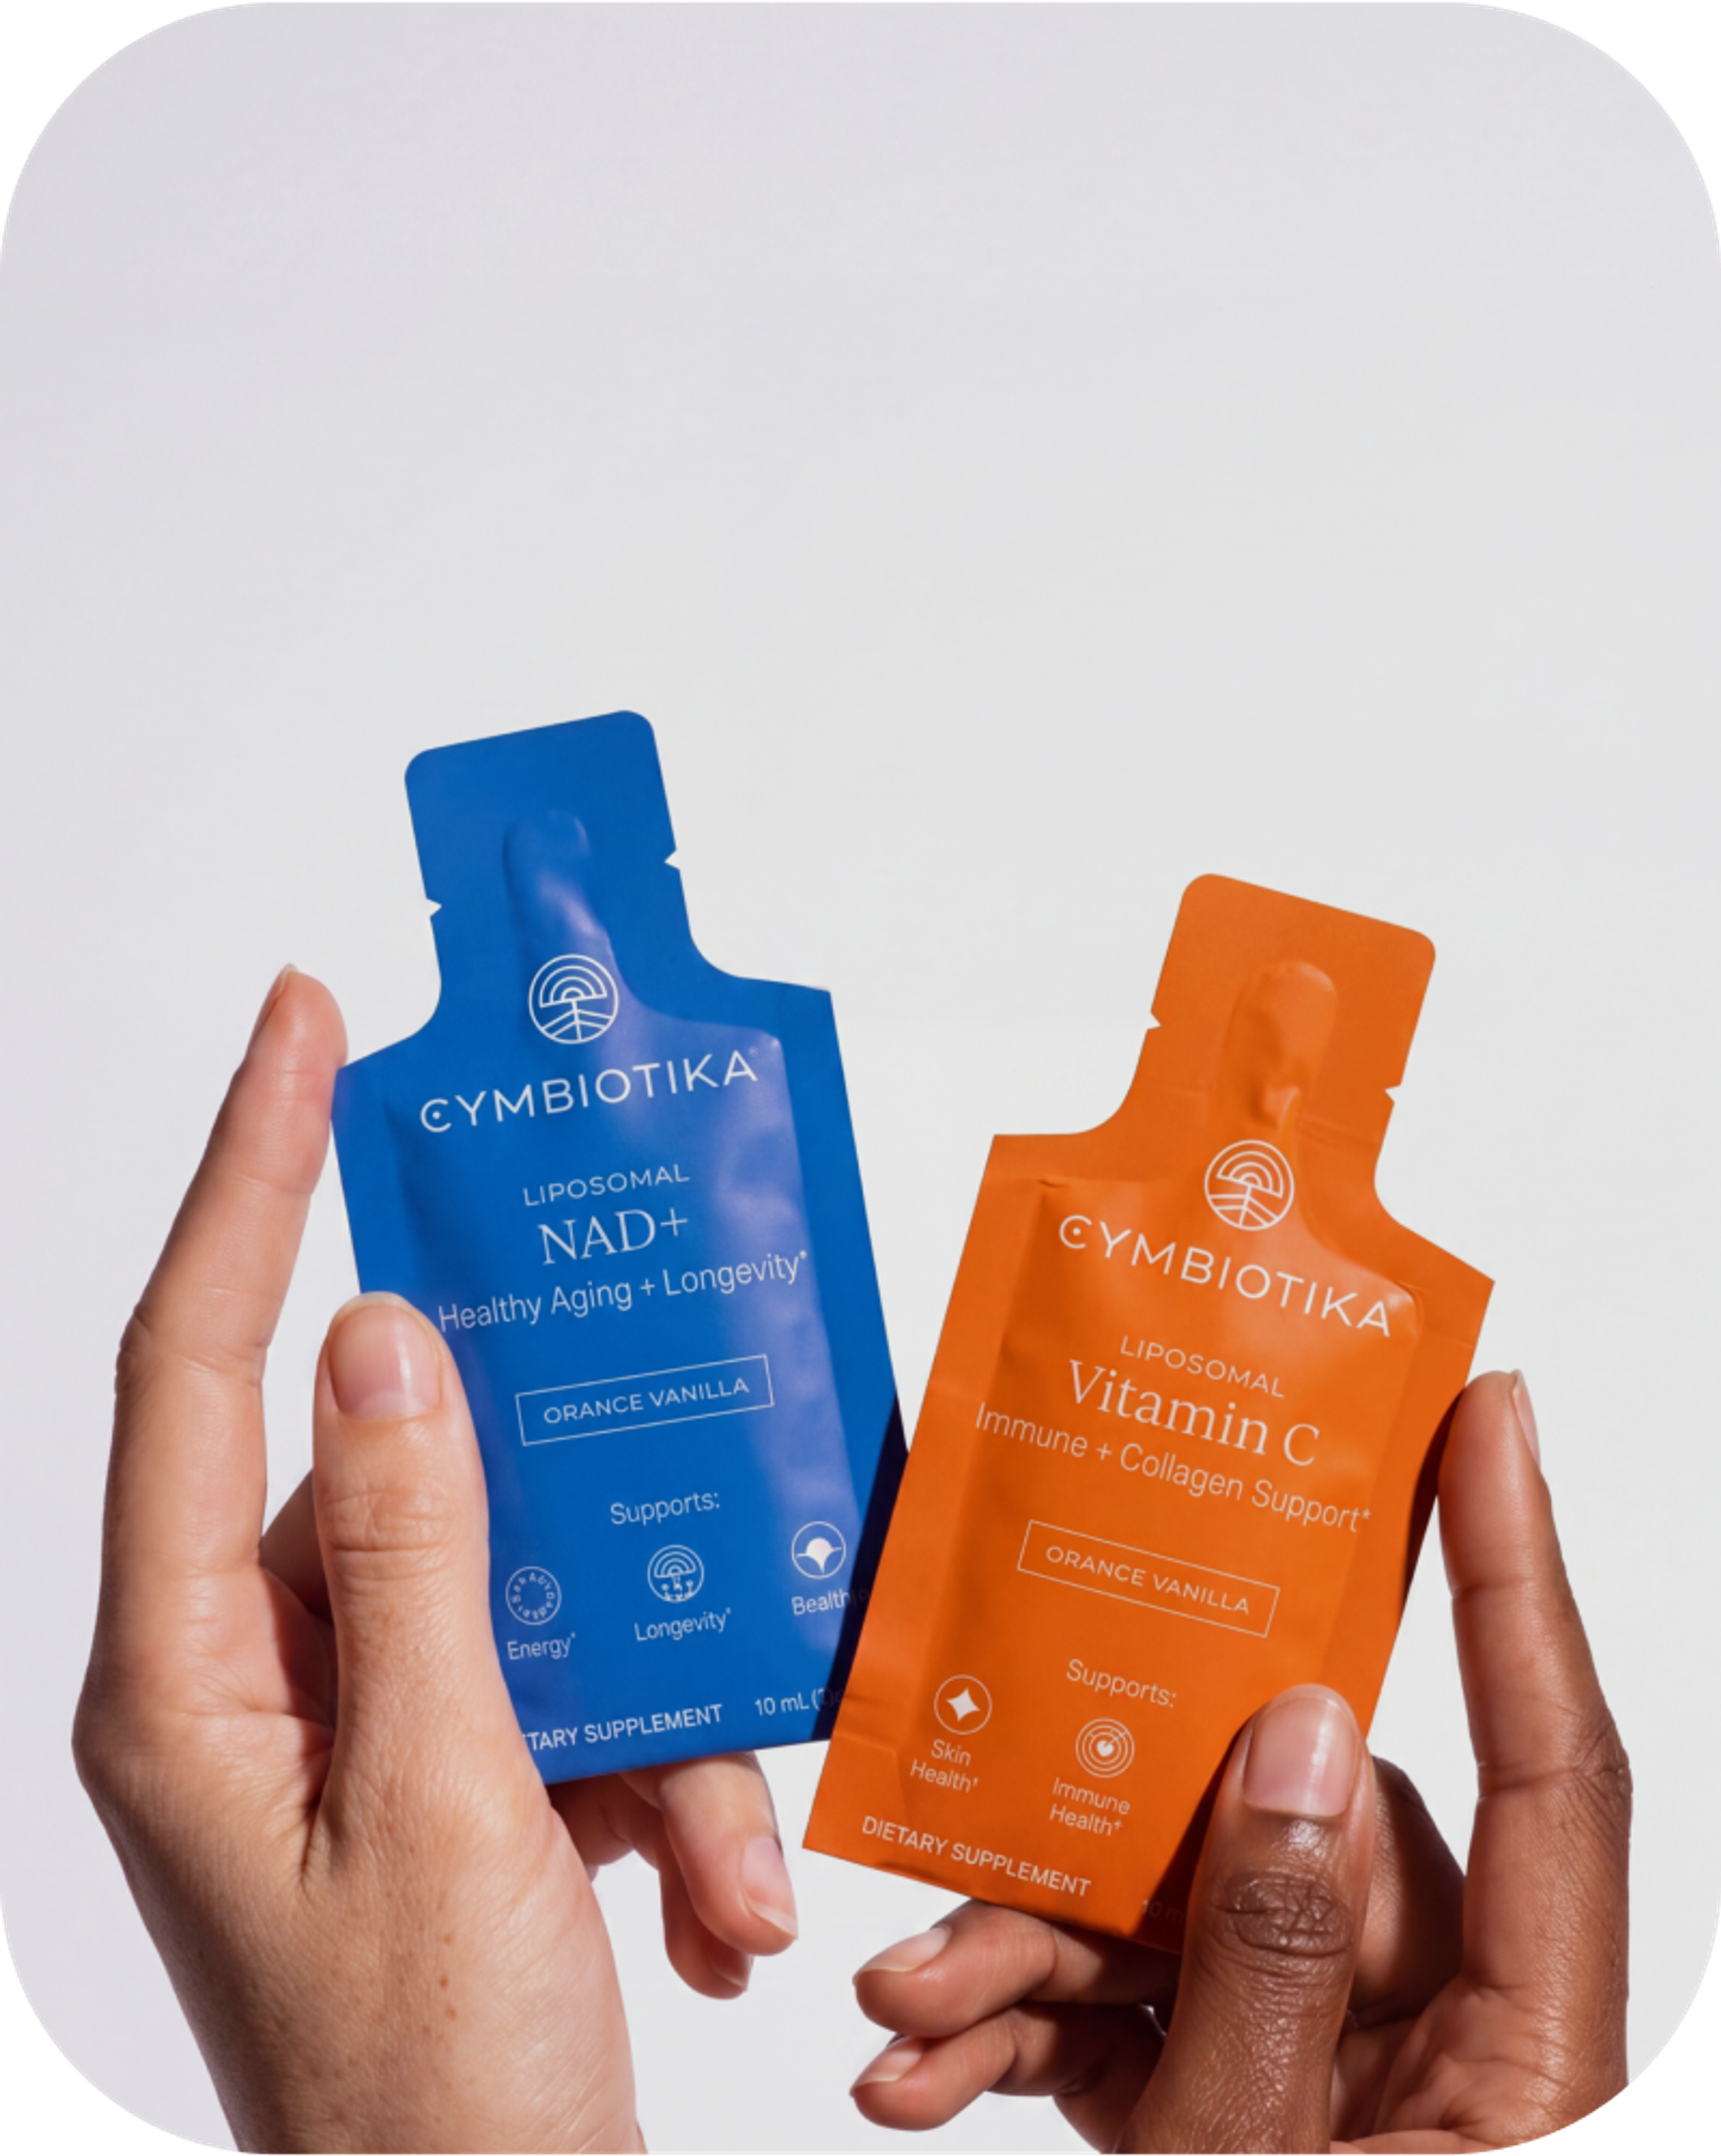
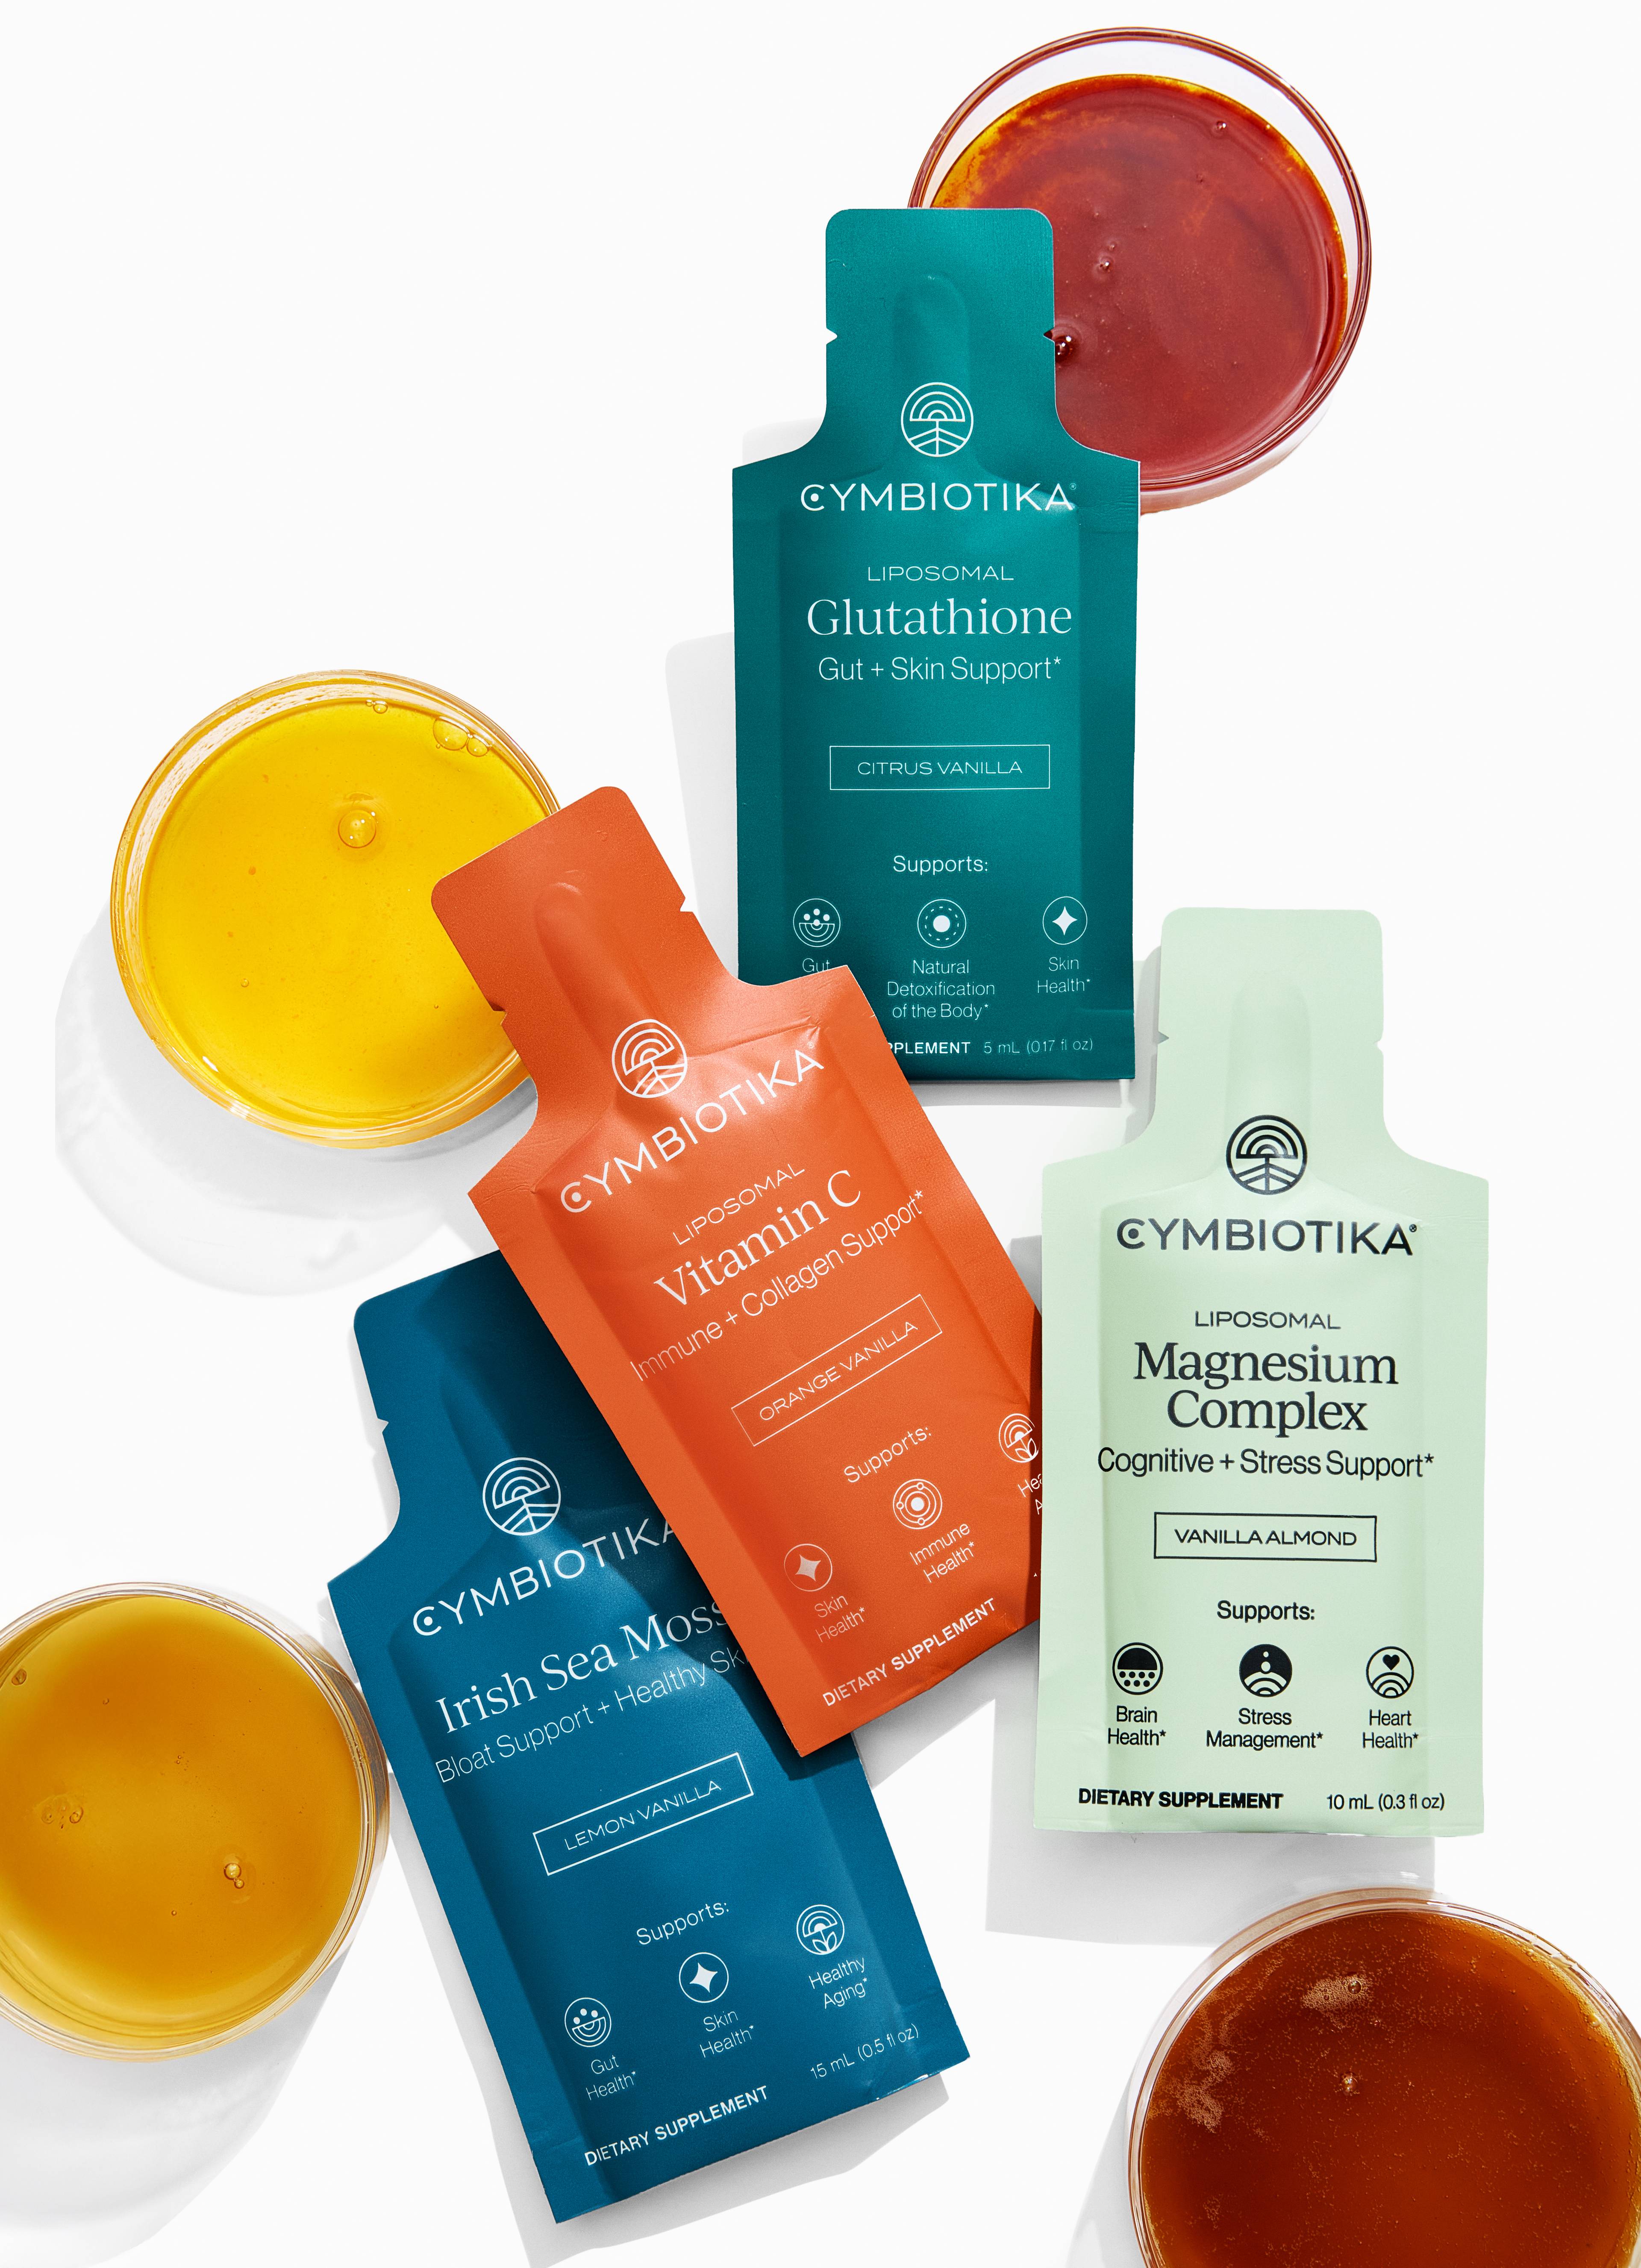
While a topical Vitamin C serum can help with surface brightness, internal support is equally important. Our Liposomal Vitamin C is designed to support the body's natural collagen production and immune health from within. By using a liposomal format, we ensure that the Vitamin C is protected as it travels through your digestive system, allowing for much higher absorption rates than standard powders or tablets. For more on the ingredient itself, read What is Liposomal Vitamin C?.
Myth: A higher percentage of Vitamin C always leads to better results.
Fact: Using too high a concentration (above 20%) can lead to significant irritation and may actually compromise the skin barrier without providing additional benefits.
Hydrating Hyaluronic Acid Serum
Hyaluronic acid is a molecule that can hold up to 1,000 times its weight in water. It occurs naturally in our skin, but our levels tend to decrease as we age. A DIY hyaluronic acid serum is one of the simplest and most effective recipes for those looking to support skin plumpness and moisture retention.
The Recipe
- 1 gram Hyaluronic Acid powder (High or Low Molecular Weight)
- 2 ounces distilled water or organic rose water
- Optional: 1/2 teaspoon organic aloe vera gel
Why Molecular Weight Matters
When sourcing your powder, you might see "high" and "low" molecular weight options. High molecular weight hyaluronic acid stays on the surface to provide immediate hydration and a smoothing effect. Low molecular weight hyaluronic acid is designed to penetrate deeper into the skin layers to support long-term moisture. For the best "glowing" results, many people find that a mix of both works best.
Preparation Steps
Step 1: Combine the distilled water and the hyaluronic acid powder in a clean glass jar.
Step 2: Shake the jar vigorously. The powder may look "clumpier" at first; this is normal.
Step 3: Place the jar in the refrigerator for 2 to 4 hours. The powder will fully hydrate and turn into a gel-like consistency.
Step 4: Add aloe vera gel if desired for extra soothing properties, shake again, and store in the fridge.
Note: Because this recipe uses water without a professional preservative, it must be kept in the refrigerator and used within 7 to 10 days to prevent bacterial growth.
Customized Face Oil Serums by Skin Type
Oil-based serums are often easier to make at home because they do not require the same strict pH balancing as water-based formulas. They are excellent for sealing in moisture and delivering fat-soluble vitamins. The key is choosing the right "base" or carrier oil for your specific skin needs.
For Oily or Blemish-Prone Skin
Many people with oily skin avoid oils, but the right ones can actually help balance the skin's natural oil production.
- Base: Jojoba oil (which closely mimics human sebum) or Grapeseed oil (which is lightweight and high in linoleic acid).
- Actives: 2 drops of Tea Tree oil or Rosemary oil.
For Dry or Mature Skin
Dry skin needs richer oils that provide a strong barrier against moisture loss.
- Base: Rosehip seed oil or Argan oil. Rosehip oil is naturally rich in Vitamin A and essential fatty acids.
- Actives: 2 drops of Frankincense or Vitamin E oil.
For Sensitive Skin
Sensitive skin requires calming ingredients that support the skin's barrier without causing redness.
- Base: Sweet Almond oil or Apricot Kernel oil.
- Actives: 2 drops of Roman Chamomile or Calendula extract.
Bottom line: Choose a carrier oil that matches your skin's natural lipid profile to ensure the serum absorbs comfortably without clogging pores.
The Role of Internal Nutrients in Skin Health
What you put inside your body often shows up on your face. While making a serum at home for glowing skin is a great external step, your skin cells are built from the nutrients available in your bloodstream. If your internal foundation is lacking, no amount of topical serum can create a lasting glow.
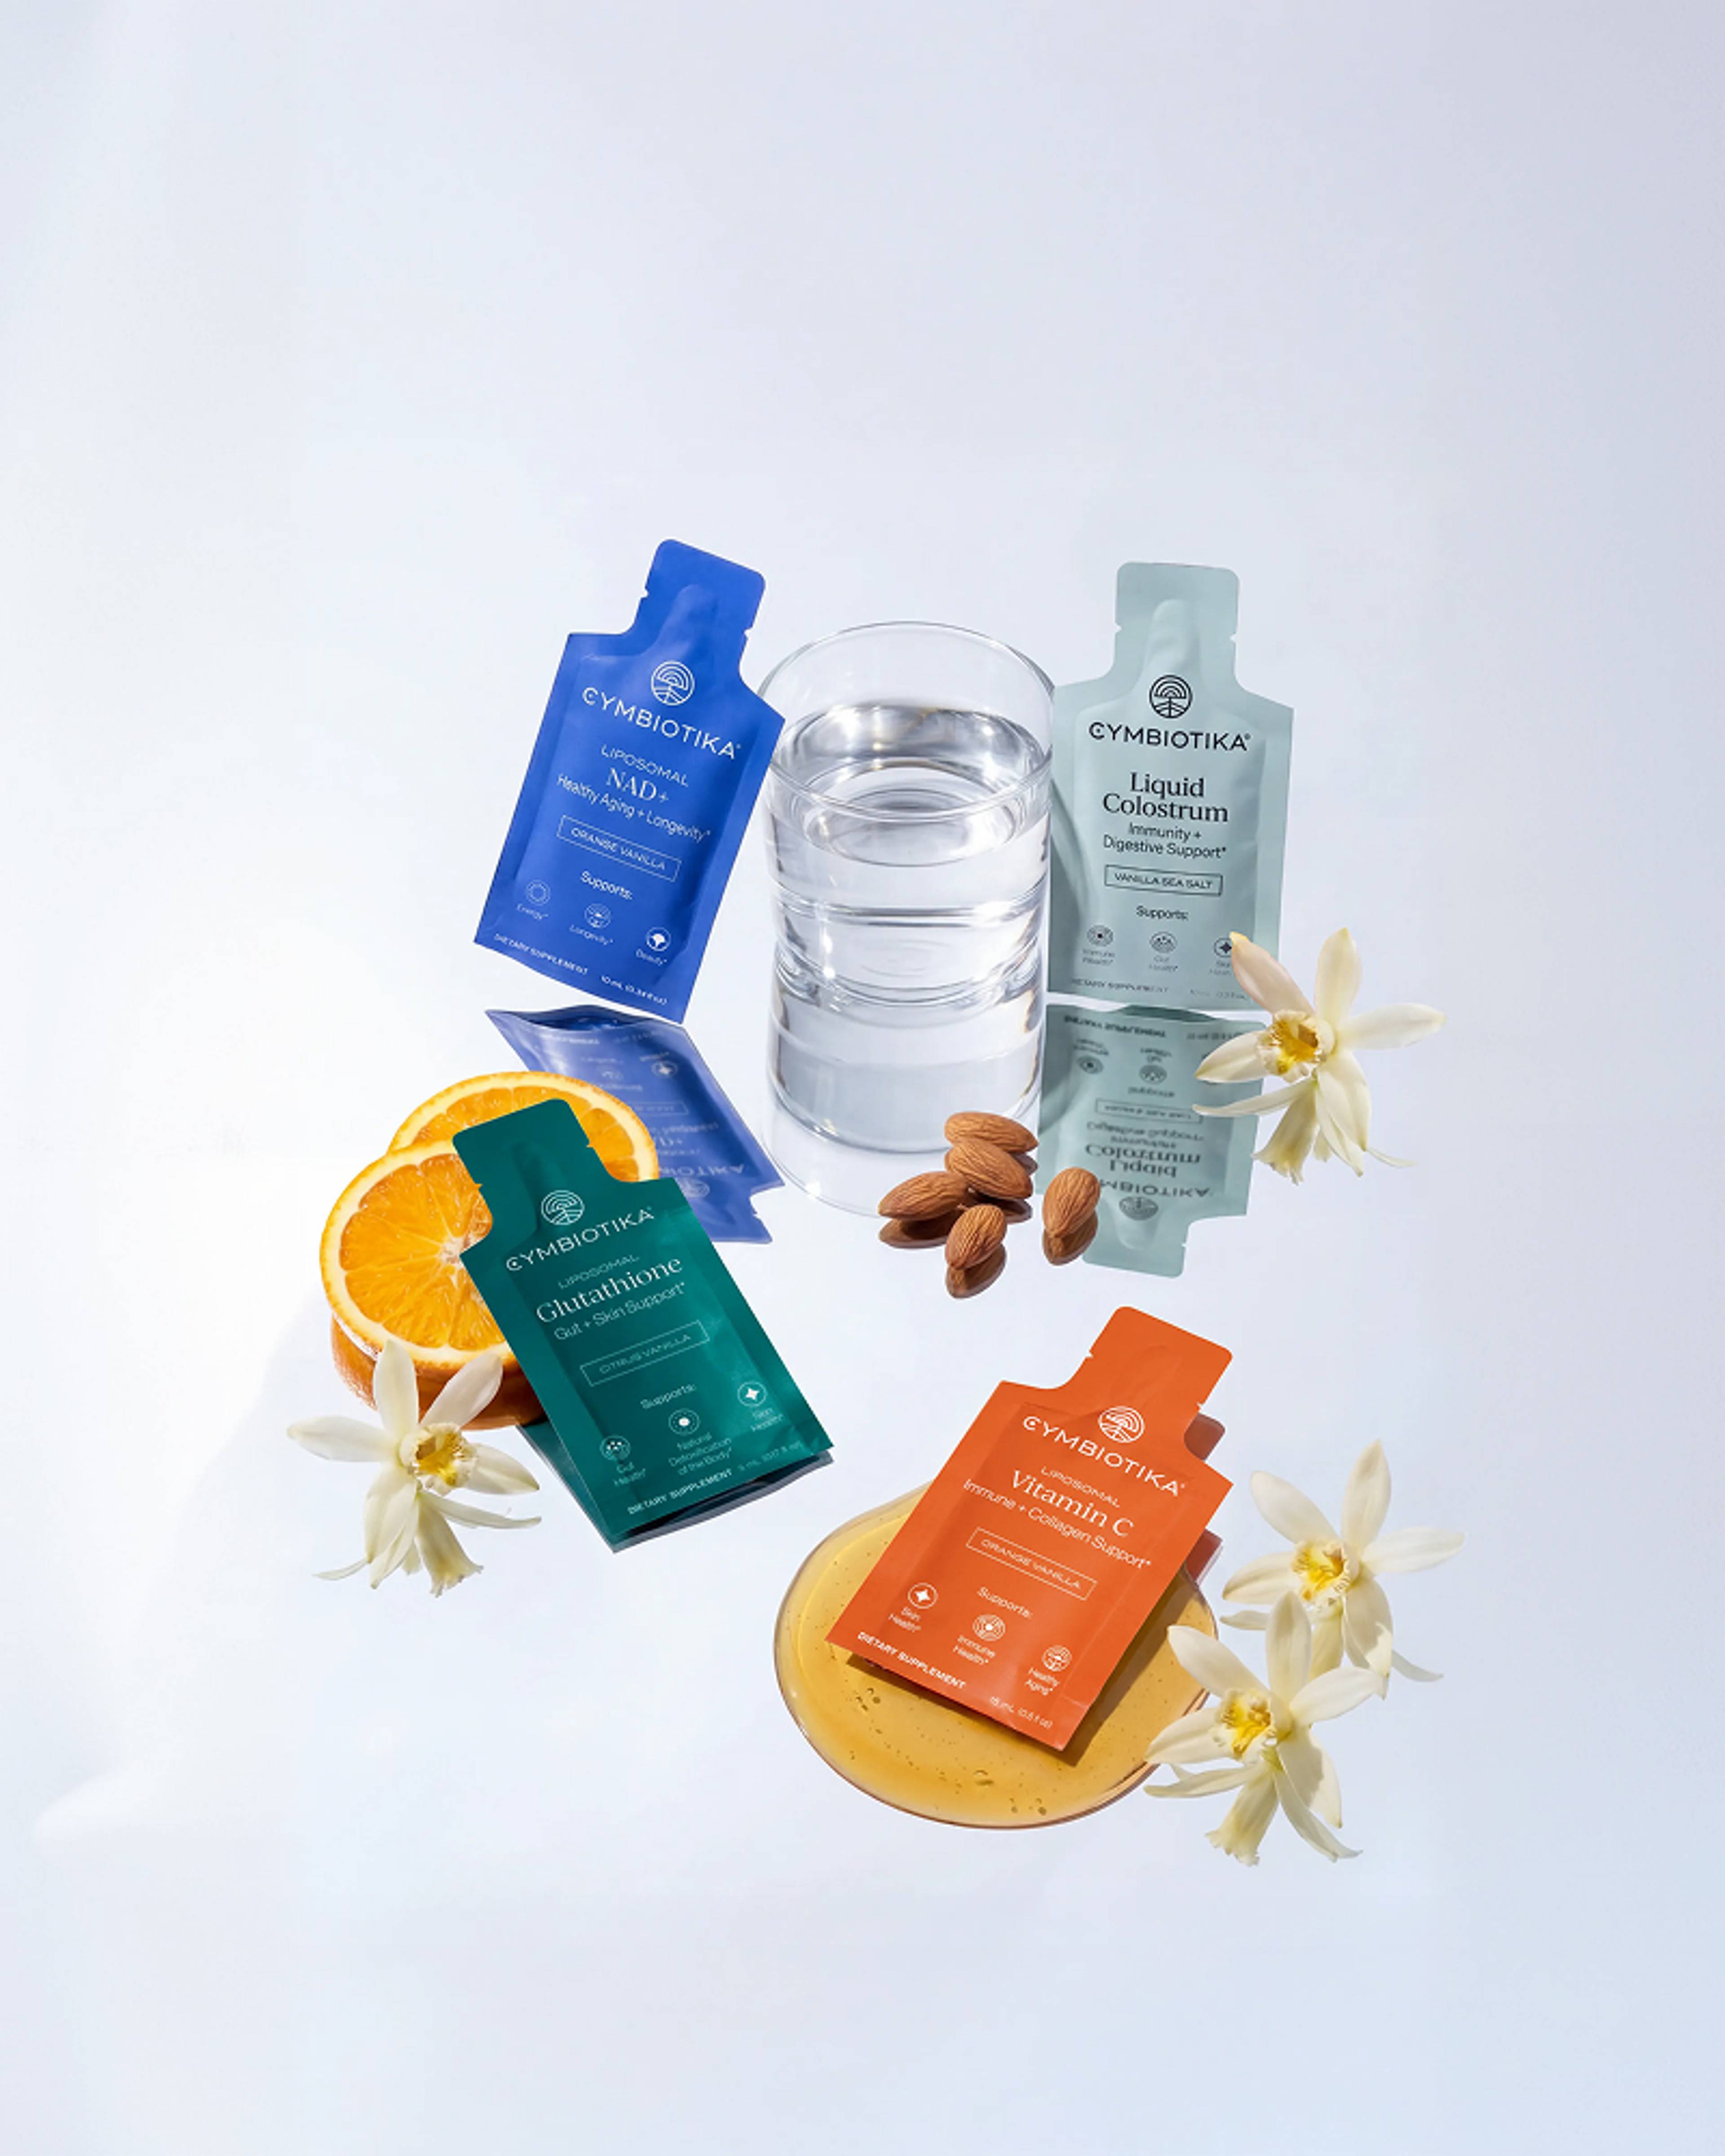
Glutathione is often called the "master antioxidant" and plays a huge role in skin clarity. It helps the body manage oxidative stress, which is a major contributor to dullness and premature ageing. Our Liposomal Glutathione uses advanced delivery technology to ensure this fragile molecule reaches your cells intact. Many of our customers find that supporting their glutathione levels leads to a more vibrant, even complexion that complements their topical skincare routine. If you're exploring the broader category, start with our Healthy Aging Supplements collection, or read more in What Is Liposomal Glutathione? Benefits & How It Works.
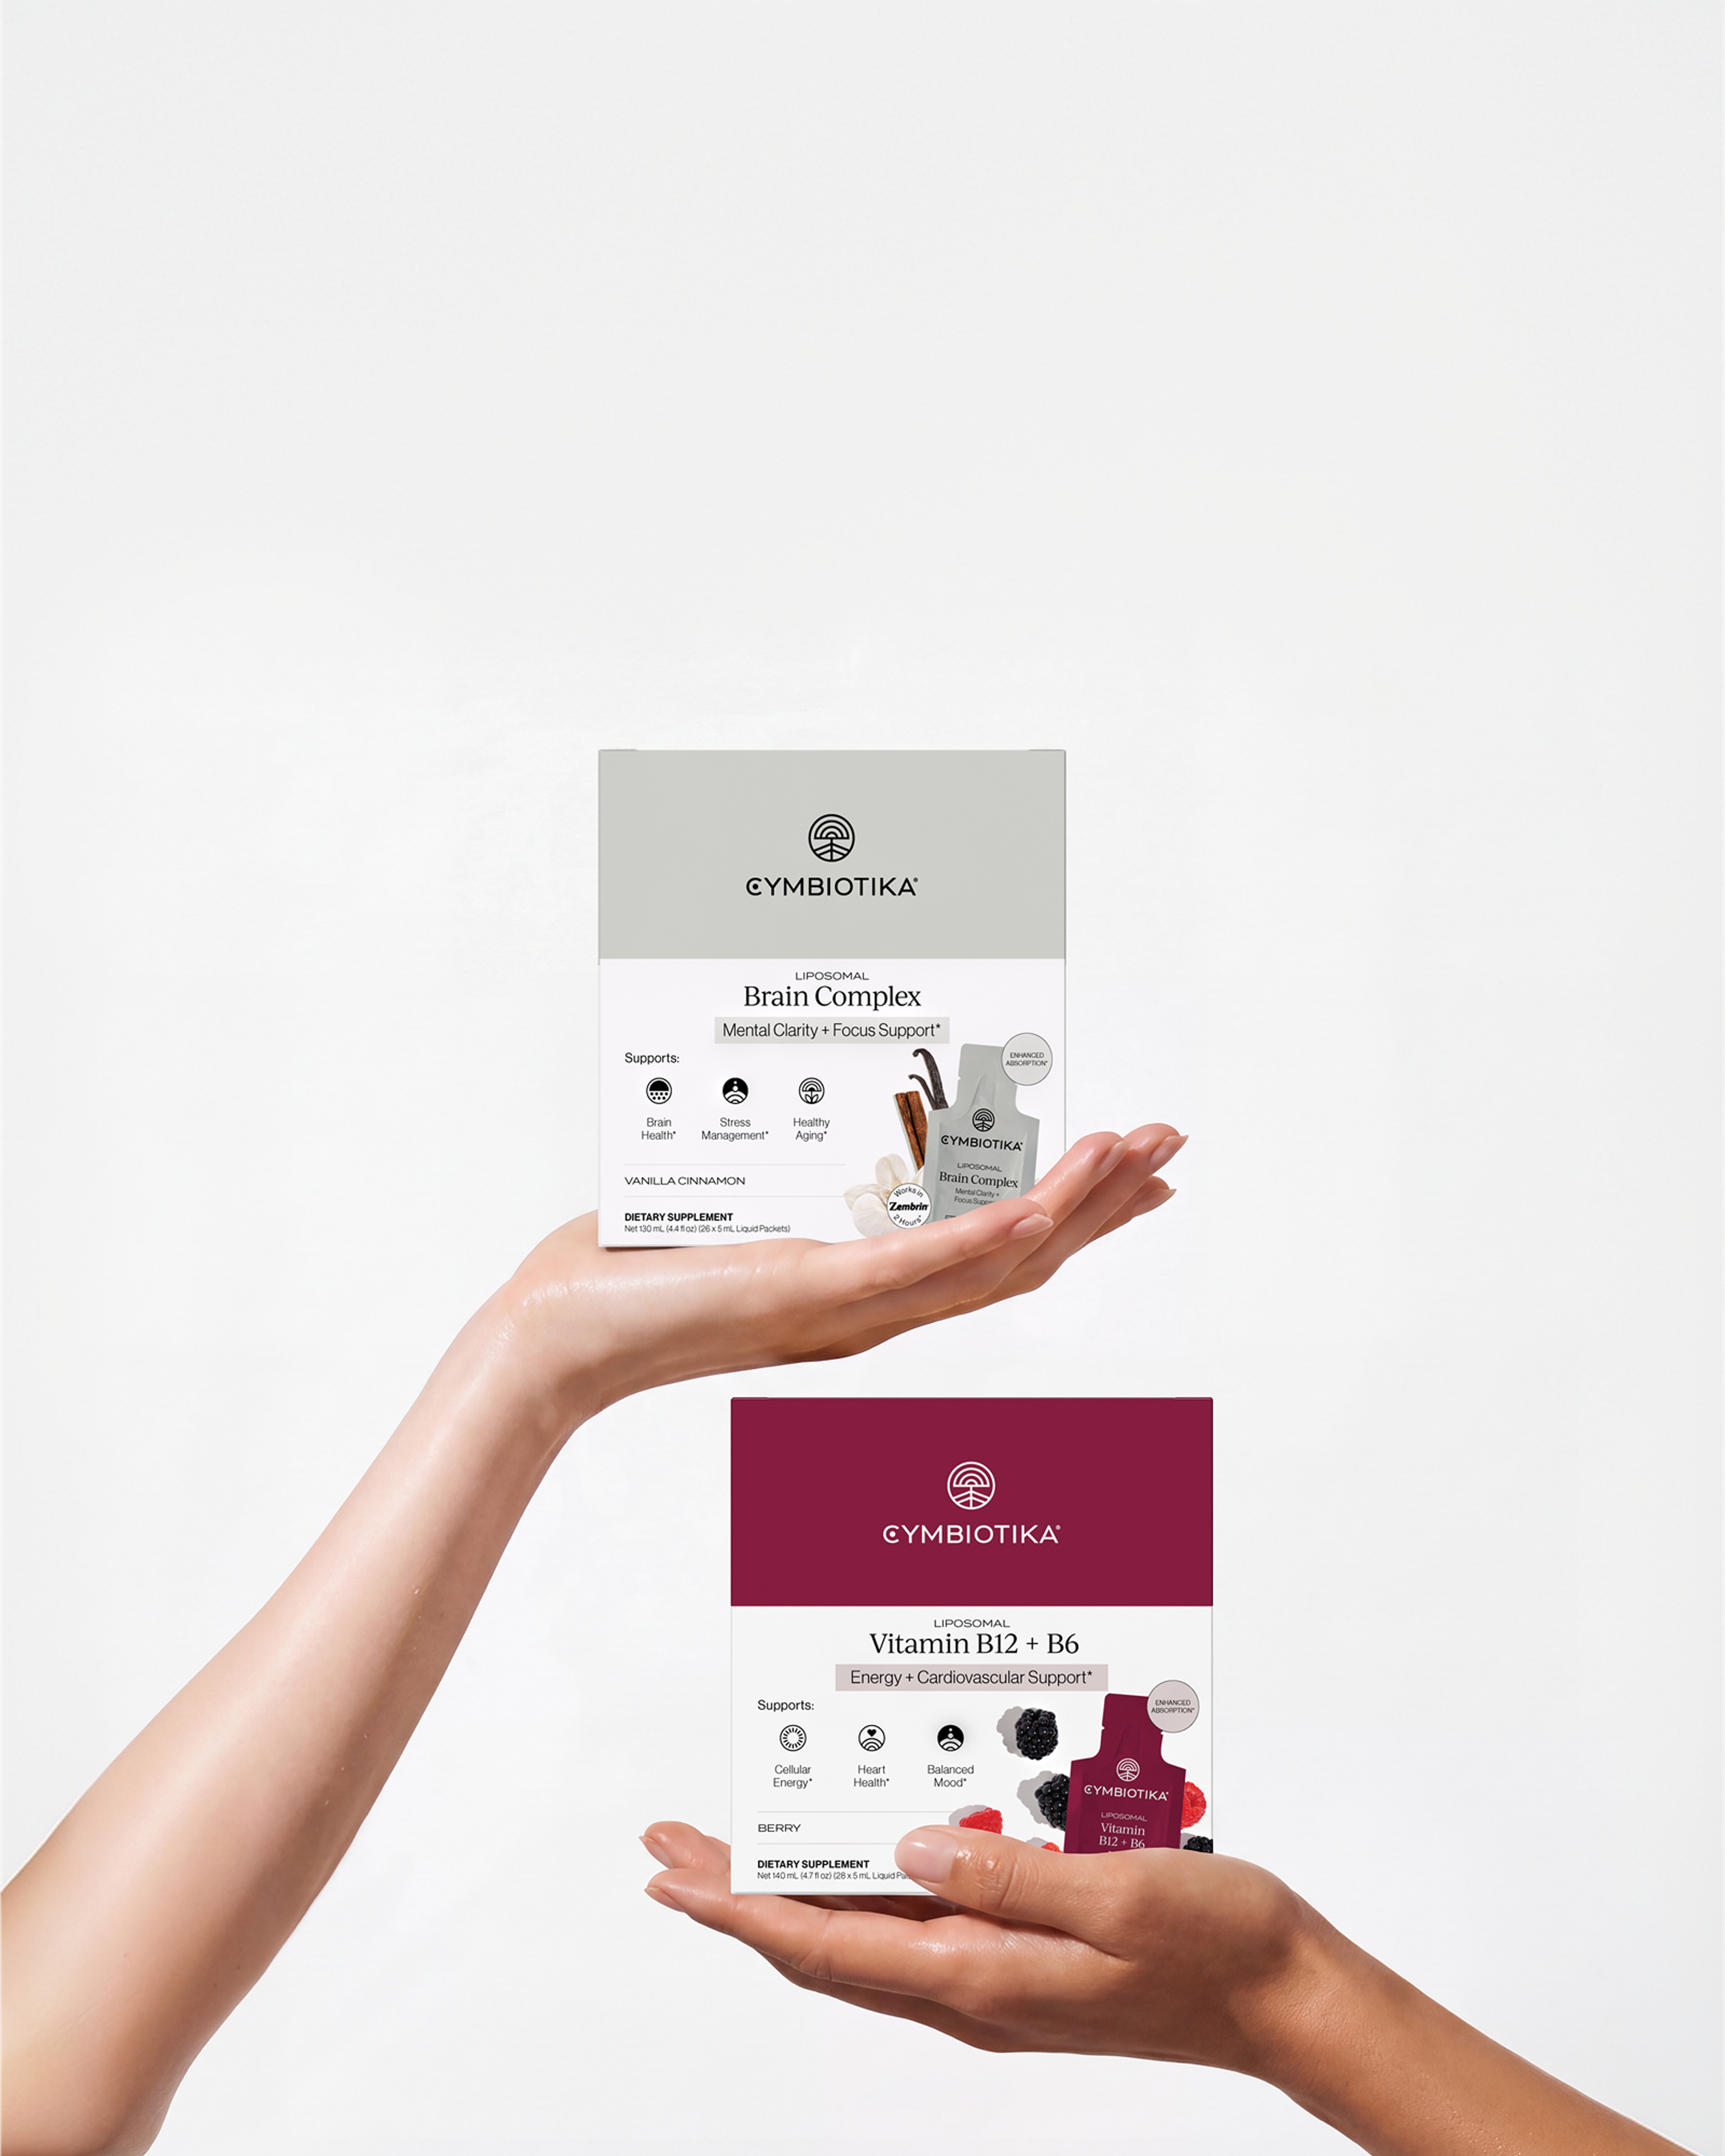
B Vitamins and Minerals also play supporting roles. Vitamin B12 and B6 are essential for cell reproduction and repair. If you are looking for a comprehensive way to support your skin from the inside, we suggest looking at your overall nutrient intake. Our Liposomal Vitamin B12 + B6 can help support energy metabolism, which in turn supports the high-energy process of skin cell turnover.
Safety Protocols for DIY Skincare
Working with homemade products requires a different level of caution than using store-bought items. Commercial products contain sophisticated preservative systems that prevent the growth of mold, bacteria, and yeast. When you make a serum at home, you are working without those safeguards.
Sanitation is Mandatory
Before you begin, ensure that all your glass bowls, stirrers, and dropper bottles are thoroughly cleaned and disinfected. You can do this by boiling them in water for several minutes or wiping them down with high-percentage isopropyl alcohol.
The Importance of Distilled Water
Never use tap water or even filtered water from a pitcher in your serums. Tap water contains minerals and potential contaminants that can cause your serum to spoil in as little as 48 hours. Distilled water is the only safe choice for water-based DIY recipes.
Storage and Shelf Life
- Water-based serums: (Vitamin C, Hyaluronic Acid) Store in the refrigerator and discard after 1 week.
- Oil-based serums: Store in a cool, dark cupboard and use within 2 to 3 months.
- Signs of spoilage: If the smell, color, or texture of your serum changes, or if you see any cloudiness, discard it immediately.
Note: Always perform a patch test on a small area of skin (like your inner wrist) before applying a new homemade serum to your entire face. Wait 24 hours to ensure no reaction occurs.
How to Build a Routine for Lasting Radiance
Consistency is the most important factor in any wellness routine. A single application of a serum won't change your skin overnight. Instead, think of your skincare as a daily practice of nourishment.
Morning Routine: Protect and Brighten
- Cleanse: Use a gentle cleanser to remove any sweat or debris from sleep.
- Apply DIY Vitamin C Serum: Use this on damp skin to help with absorption.
- Support Internally: This is the best time to take your Liposomal Vitamin C or Super Greens to provide antioxidant protection for the day ahead.
- Moisturize and SPF: Seal in your serum and protect your skin from UV damage.
Evening Routine: Repair and Hydrate
- Double Cleanse: Remove sunscreen and environmental pollutants.
- Apply DIY Hyaluronic Acid or Oil Serum: Focus on hydration and barrier repair while you sleep.
- Support Internally: Consider a Liposomal Magnesium Complex or Liposomal Sleep to support the body's natural nighttime repair processes.
What to Do Next
- Gather your glass bottles and ingredients.
- Start with a simple oil-based serum to get used to the process.
- Take the Cymbiotika Health Quiz to see which internal nutrients might be missing from your routine.
- Commit to a 30-day routine to see how your skin responds to the combination of DIY care and targeted supplementation.
Maximizing Bioavailability with Liposomal Technology
We often talk about bioavailability because it is the difference between a product that works and a product that is a waste of money. When you make a serum at home, you are limited by the chemistry of raw ingredients. While these ingredients are pure and helpful, they often lack the delivery systems needed to penetrate deep into the skin's architecture.
This is why we prioritize liposomal delivery in our products. A liposome is a tiny bubble made out of the same material as your cell membranes. When we wrap a nutrient like Vitamin C or Glutathione in a liposome, the body recognizes it and allows it to pass through barriers more easily. This technology "mimics" the way your body naturally moves nutrients, making the supplement much more effective.
When you combine the "clean" approach of DIY serums with the "science-forward" approach of liposomal supplements, you create a powerful wellness strategy. You are addressing the skin from both sides of the barrier. The DIY serum provides immediate surface support and hydration, while the supplements provide the raw materials your body needs to build healthy, resilient skin cells from the ground up.
Why Quality Sourcing Matters
The quality of your DIY serum is only as good as the raw ingredients you buy. When shopping for oils and powders, look for "organic," "cold-pressed," and "unrefined" labels. These terms generally mean the ingredients have been processed without high heat or harsh chemicals, which preserves their natural nutrient profile.
We apply these same rigorous standards to everything we create. Our sourcing process involves finding the most potent, wild-crafted, and organic ingredients available. We believe in transparency, which means we never hide behind "proprietary blends" or use synthetic fillers that don't serve a purpose. Whether you are mixing a serum in your kitchen or taking one of our pouches, you deserve to know exactly what is going into your body and why it is there.
Key Takeaway: Quality sourcing and advanced delivery systems are not just "extras"—they are the foundational requirements for a wellness routine that actually produces results.
Troubleshooting Common DIY Serum Issues
It is common for your first few batches of homemade serum to require some adjustment. Because you are working with natural ingredients, there can be variance in texture and feel.
If your serum feels too sticky: This is usually caused by too much glycerin or hyaluronic acid. Try increasing the amount of distilled water in your next batch or applying the serum to very wet skin to help it spread more thinly.
If your serum is causing breakouts: The carrier oil might be too heavy for your skin type. If you are using a rich oil like Olive or Coconut oil, try switching to a lighter, non-comedogenic oil like Squalane or Hemisqualane.
If your Vitamin C serum turns orange: This is a sign of oxidation. It means the Vitamin C has broken down and is no longer effective. This happens if the serum is exposed to too much light or if it has been sitting for too long. Always store Vitamin C in an amber or cobalt bottle and make small batches that you can finish in a week.
If the ingredients won't mix: Oil and water do not naturally stay mixed without an emulsifier. If you are trying to combine water-based actives (like Vitamin C) with oils, you will need to shake the bottle vigorously before every single use. Alternatively, apply your water-based serum first, let it dry, and then apply your oil-based serum on top.
Conclusion
Learning how to make serum at home for glowing skin is a rewarding way to deepen your connection to your self-care routine. By choosing high-quality oils and antioxidants, you can provide your skin with a fresh, potent dose of nourishment without unnecessary additives. However, the most radiant skin is always a reflection of your overall health.
At Cymbiotika, our mission is to empower you with the tools and knowledge to take ownership of your wellness. We believe that when you combine clean, homemade topical care with science-backed, highly bioavailable supplements, you create a foundation for health that lasts. Whether you are looking for better sleep, more energy, or a clearer complexion, we are here to help you navigate your journey with transparency and trust.
- Start with a simple DIY serum recipe that addresses your primary skin concern.
- Prioritize internal hydration and antioxidant support to fuel your skin's repair processes.
- Keep your DIY batches small to ensure freshness and safety.
- Use our Health Quiz to identify the specific supplements that will best complement your new skincare routine.
"True radiance is not just applied; it is grown from a foundation of cellular health and conscious choices."
FAQ
How long does a DIY serum last?
A water-based DIY serum, such as one made with Vitamin C or Hyaluronic Acid, typically lasts about 7 to 10 days when stored in the refrigerator. Oil-based serums last much longer, often up to 3 months, because they do not support bacterial growth as easily as water does. Always check for changes in smell or color before each use.
Can I use tap water for my homemade serum?
No, you should never use tap water because it contains minerals, chlorine, and potential bacteria that can cause your serum to spoil quickly or irritate your skin. Distilled water is the only recommended base for DIY skincare as it has been purified of these contaminants.
Which oil is best for a glowing skin serum?
Rosehip seed oil and Jojoba oil are widely considered the best for achieving a natural glow. Rosehip oil is high in Vitamin A and C, which support skin brightness, while Jojoba oil mimics the skin's natural oils and absorbs quickly without leaving a greasy residue.
Do I need to use a preservative in my DIY serum?
If you are making a water-based serum and planning to keep it for more than a few days, a preservative is necessary to prevent mold and bacteria. However, most people making serums at home prefer to avoid synthetic preservatives by making very small batches and storing them in the refrigerator to be used within one week.
*These statements have not been evaluated by the Food and Drug Administration. This product is not intended to diagnose, treat, cure, or prevent any disease.