


Table of Contents
- Introduction
- Understanding the Restorative Power of Inversions
- How to Do Legs Up the Wall Yoga Pose: Step-by-Step
- Common Mistakes to Avoid
- Modifications for Different Body Types
- The Role of Cellular Support in Recovery
- Creating a Recovery Ritual
- The Connection Between Circulation and Nutrients
- Addressing Common Questions
- Why Quality Matters in Your Routine
- Conclusion
- FAQ
Introduction
Finding a moment for stillness often feels like a luxury, yet it is a biological necessity for recovery. The "legs up the wall" pose, known in Sanskrit as Viparita Karani, is one of the most accessible and effective ways to reset your system after a long day. It requires no special equipment and very little space, making it a favorite for those seeking a practical way to support their physical and mental well-being.
At Cymbiotika, we believe that true wellness is built through a combination of intentional movement and high-quality nourishment. This article explores how to master this restorative posture and how to integrate it into a broader routine that prioritizes bioavailability and absorption. By the end of this guide, you will understand the mechanics of the pose and how to maximize its impact on your daily recovery.
Learning how to do legs up the wall yoga pose is a simple process that offers deep rewards for your circulation and nervous system.
Understanding the Restorative Power of Inversions
Inversions are a category of yoga poses where the head is positioned below the heart or the heart is positioned above the legs. While many people picture advanced handstands when they hear the word "inversion," legs up the wall is a gentle, passive version. It allows you to experience the benefits of changing the relationship between your body and gravity without the physical strain of more athletic postures.
The primary mechanism at work here is the shift in blood flow. When you spend most of your day standing or sitting, gravity pulls fluid toward your lower extremities. This can lead to a heavy feeling in the legs or feet. By elevating the lower body, you encourage fluid to return toward the heart and pelvic region, which can support the body's natural drainage and circulation processes.
This pose is also deeply connected to the parasympathetic nervous system—the part of your nervous system responsible for the "rest and digest" state. Most of us spend our waking hours in a state of mild sympathetic dominance, often called "fight or flight." Shifting into a parasympathetic state is essential for repair, digestion, and quality rest.
Key Takeaway: Passive inversions like legs up the wall utilize gravity to support circulation and encourage the body to shift from a state of stress to a state of recovery.
How to Do Legs Up the Wall Yoga Pose: Step-by-Step
Performing this pose correctly ensures that you remain comfortable enough to stay in the position for several minutes. While it may look as simple as lying down, the entry and exit require a bit of technique to protect your lower back and neck.
Step 1: Set Up Your Space
Find a clear patch of wall and enough floor space to lie down fully. If you have a yoga mat, lay it out perpendicular to the wall. If not, a soft carpet or a folded blanket will work. You may also want a small pillow or a folded towel nearby to support your head or hips.
Step 2: Get into Position
The easiest way to enter the pose is to sit sideways against the wall. Your hip should be touching the baseboard. Lean back onto your elbows and, in one smooth motion, swing your legs up the wall as you lower your torso and head down to the floor.
Step 3: Adjust Your Proximity
Once your legs are up, check the distance between your hips and the wall. Your sit bones do not necessarily need to touch the wall. In fact, if your hamstrings are tight, keeping your hips 3 to 6 inches away from the wall often feels much better. Your legs should be relatively vertical but relaxed.
Step 4: Align Your Upper Body
Rest your head flat on the floor. Ensure your neck feels long and neutral. You can place your arms out to the sides in a "T" shape to open the chest, or rest one hand on your heart and one on your belly to focus on your breathing.
Step 5: Soften and Hold
Close your eyes and allow your weight to settle into the floor. Soften your jaw, your eyes, and your shoulders. Hold this position for anywhere from 5 to 20 minutes. If your feet start to tingle, simply bend your knees for a moment or slide your legs down the wall.
Step 6: Exiting the Pose
When you are ready to come out, do not jump up immediately. Bend your knees toward your chest and roll onto your right side. Rest in a fetal position for a few breaths to allow your blood pressure to stabilize before slowly pushing yourself up to a seated position.
Common Mistakes to Avoid
Even a simple pose can cause discomfort if the alignment is off. To get the most out of your practice, keep these common errors in mind.
- Forcing the hips to the wall: Many people think their glutes must touch the wall. If this causes your lower back to lift off the floor or creates a pulling sensation behind your knees, move your hips further away. The goal is a neutral spine.
- Hyperextending the neck: If your chin is pointing toward the ceiling, your neck is likely compressed. Tuck your chin slightly or use a very thin pillow under your head to keep the back of the neck long.
- Holding tension in the feet: Your legs should be supported by the wall. You do not need to "flex" your feet or keep your legs perfectly straight. Let your feet fall away from each other naturally.
- Holding the breath: Restorative yoga is powered by the breath. If you find yourself holding your breath or breathing shallowly into your chest, focus on expanding your belly with each inhale.
Modifications for Different Body Types
Yoga is not a one-size-fits-all practice. Depending on your flexibility and comfort level, you may need to adjust the pose to suit your needs.
For Tight Hamstrings
If you feel a sharp pull in the back of your legs, you are likely too close to the wall. Slide your hips back until you can keep a slight bend in your knees while still resting your heels against the wall. This takes the pressure off the hamstrings and allows the lower back to settle into the floor.
For Lower Back Support
Many people find that a slight elevation of the hips makes the pose feel more "weightless." You can place a firm pillow or a yoga bolster under your sacrum (the flat bone at the base of your spine). This creates a gentle incline that can feel very supportive for the lumbar spine.
For Weighted Comfort
If you have trouble "switching off" your mind, try placing a folded blanket or a sandbag over your feet. The gentle weight provides proprioceptive input, which can help calm the nervous system and make the legs feel more grounded.
Bottom line: Adjust the distance of your hips from the wall and use props like blankets or pillows to ensure your spine remains neutral and your muscles can fully relax.
The Role of Cellular Support in Recovery
A restorative practice like legs up the wall is a physical tool for recovery, but true restoration happens at the cellular level. For your muscles to relax and your nervous system to reset, your body requires specific minerals and nutrients.
One of the most critical elements for relaxation is Magnesium Complex. This mineral is involved in over 300 biochemical reactions, including muscle contraction and relaxation. When we are stressed, our bodies deplete magnesium more quickly. Using a high-quality supplement can help replenish these stores.
However, not all supplements are created equal. The effectiveness of any nutrient depends on its bioavailability—how well your body can actually absorb and use what it takes in. Many standard magnesium tablets use cheap binders and fillers that the body struggles to break down. We focus on advanced delivery systems to ensure that the nutrients you take actually reach your cells. Our Magnesium Complex, for example, is designed for maximum absorption to support the nervous system and muscle recovery.
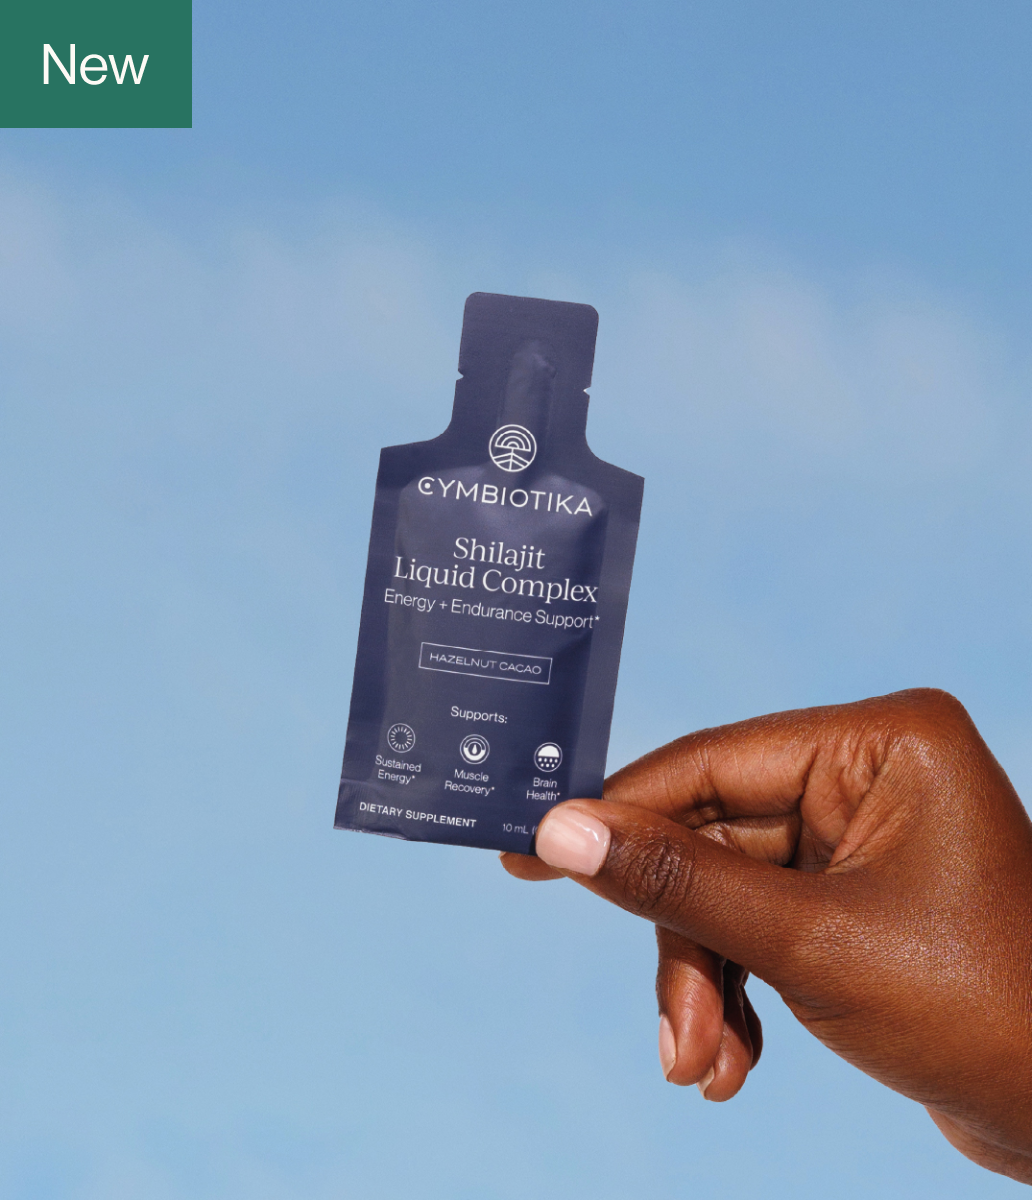
Similarly, the body needs trace minerals to maintain electrical balance. Ingredients like Pürblack Pure Mineral Shilajit Live Resin provide a comprehensive complex of minerals and fulvic acid. This supports the body's natural energy production and recovery pathways, complementing the physical benefits of your yoga practice.
Creating a Recovery Ritual
Consistency is more important than intensity when it comes to restorative wellness. You do not need to spend hours on a yoga mat to see results. Instead, focus on building a sustainable ritual that fits into your existing lifestyle.
Evening Wind-Down
The best time to do legs up the wall is often in the evening. It serves as a bridge between the activity of the day and the rest of sleep. Try spending 10 minutes in the pose before getting into bed. This signals to your brain that it is time to transition out of "work mode."
Post-Travel Reset
Travel, especially air travel, can leave the body feeling stagnant and dehydrated. Performing this pose after a long flight can help move fluid and reduce the feeling of "heavy legs" that often accompanies long periods of sitting. For broader support, the Recovery Supplements collection is a useful place to explore.
Mid-Day Break
If you work from home or have a private office, a five-minute version of this pose in the afternoon can be more refreshing than a cup of coffee. It provides a quick circulatory boost and a mental reset without the "crash" of caffeine. If you want a daytime supplement complement, browse the Energy Supplements collection.
To build a successful recovery ritual, follow these steps:
- Select a consistent time: Choose a time when you are unlikely to be interrupted, such as right before bed or immediately after work.
- Pair with breathwork: Focus on "box breathing"—inhale for 4, hold for 4, exhale for 4, hold for 4—to deepen the relaxation response.
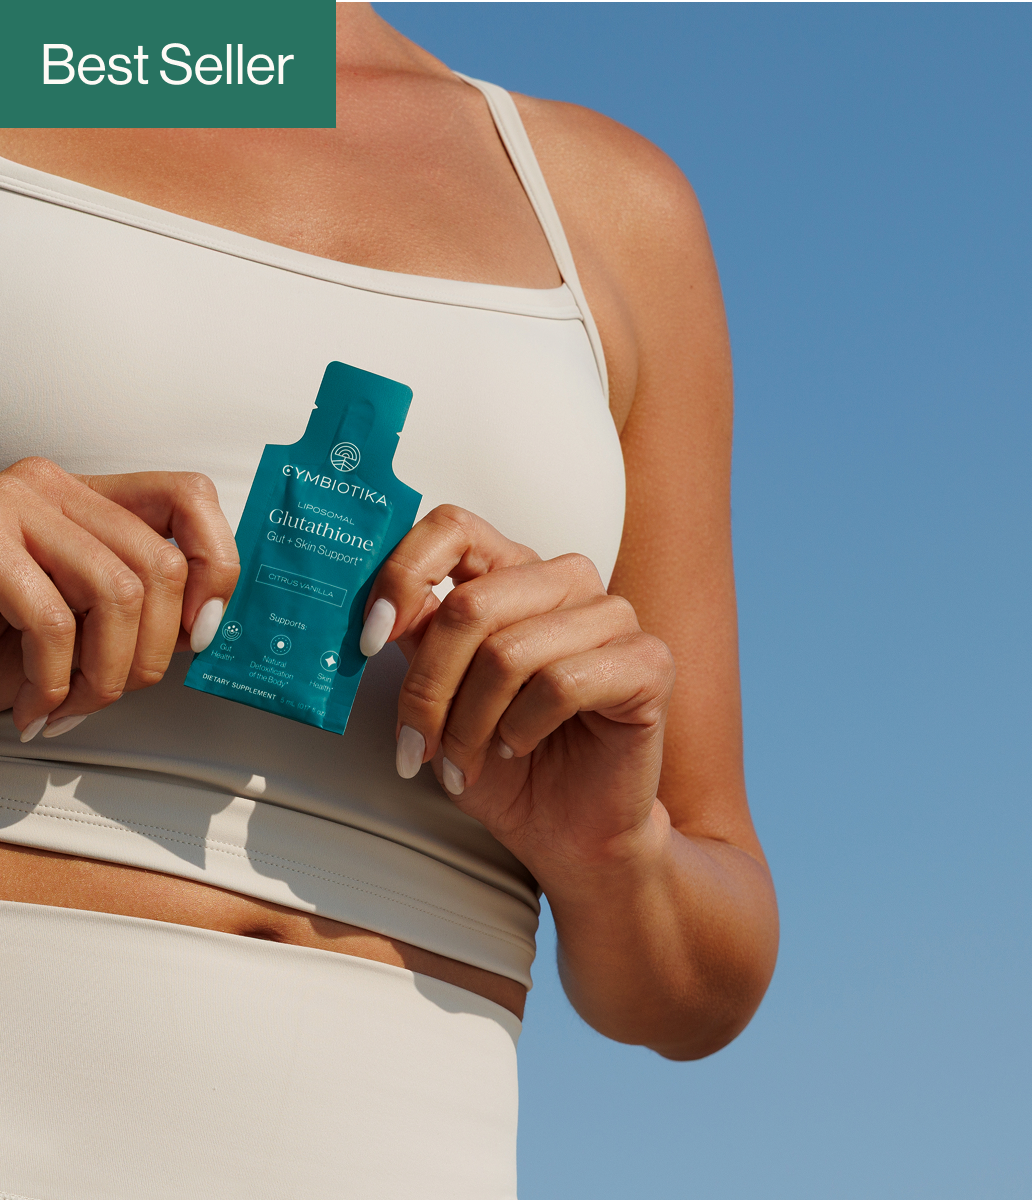
- Support from within: Take your recovery supplements, like our Liposomal Glutathione, around the same time to align your internal and external recovery efforts.
- Listen to your body: Stay in the pose as long as it feels good. Some days that may be 5 minutes; other days it may be 15.
The Connection Between Circulation and Nutrients
When you do legs up the wall, you are assisting your circulatory system. This is important because blood is the transport vehicle for oxygen and nutrients. When circulation is efficient, your cells receive the building blocks they need for repair more effectively.
This is why we emphasize the importance of liposomal delivery. A liposomal supplement uses a phospholipid bilayer—a tiny bubble made of the same material as your cell membranes—to protect the nutrient as it passes through the digestive tract. This technology is designed to support absorption at the cellular level, ensuring that the "cargo" reaches its destination.
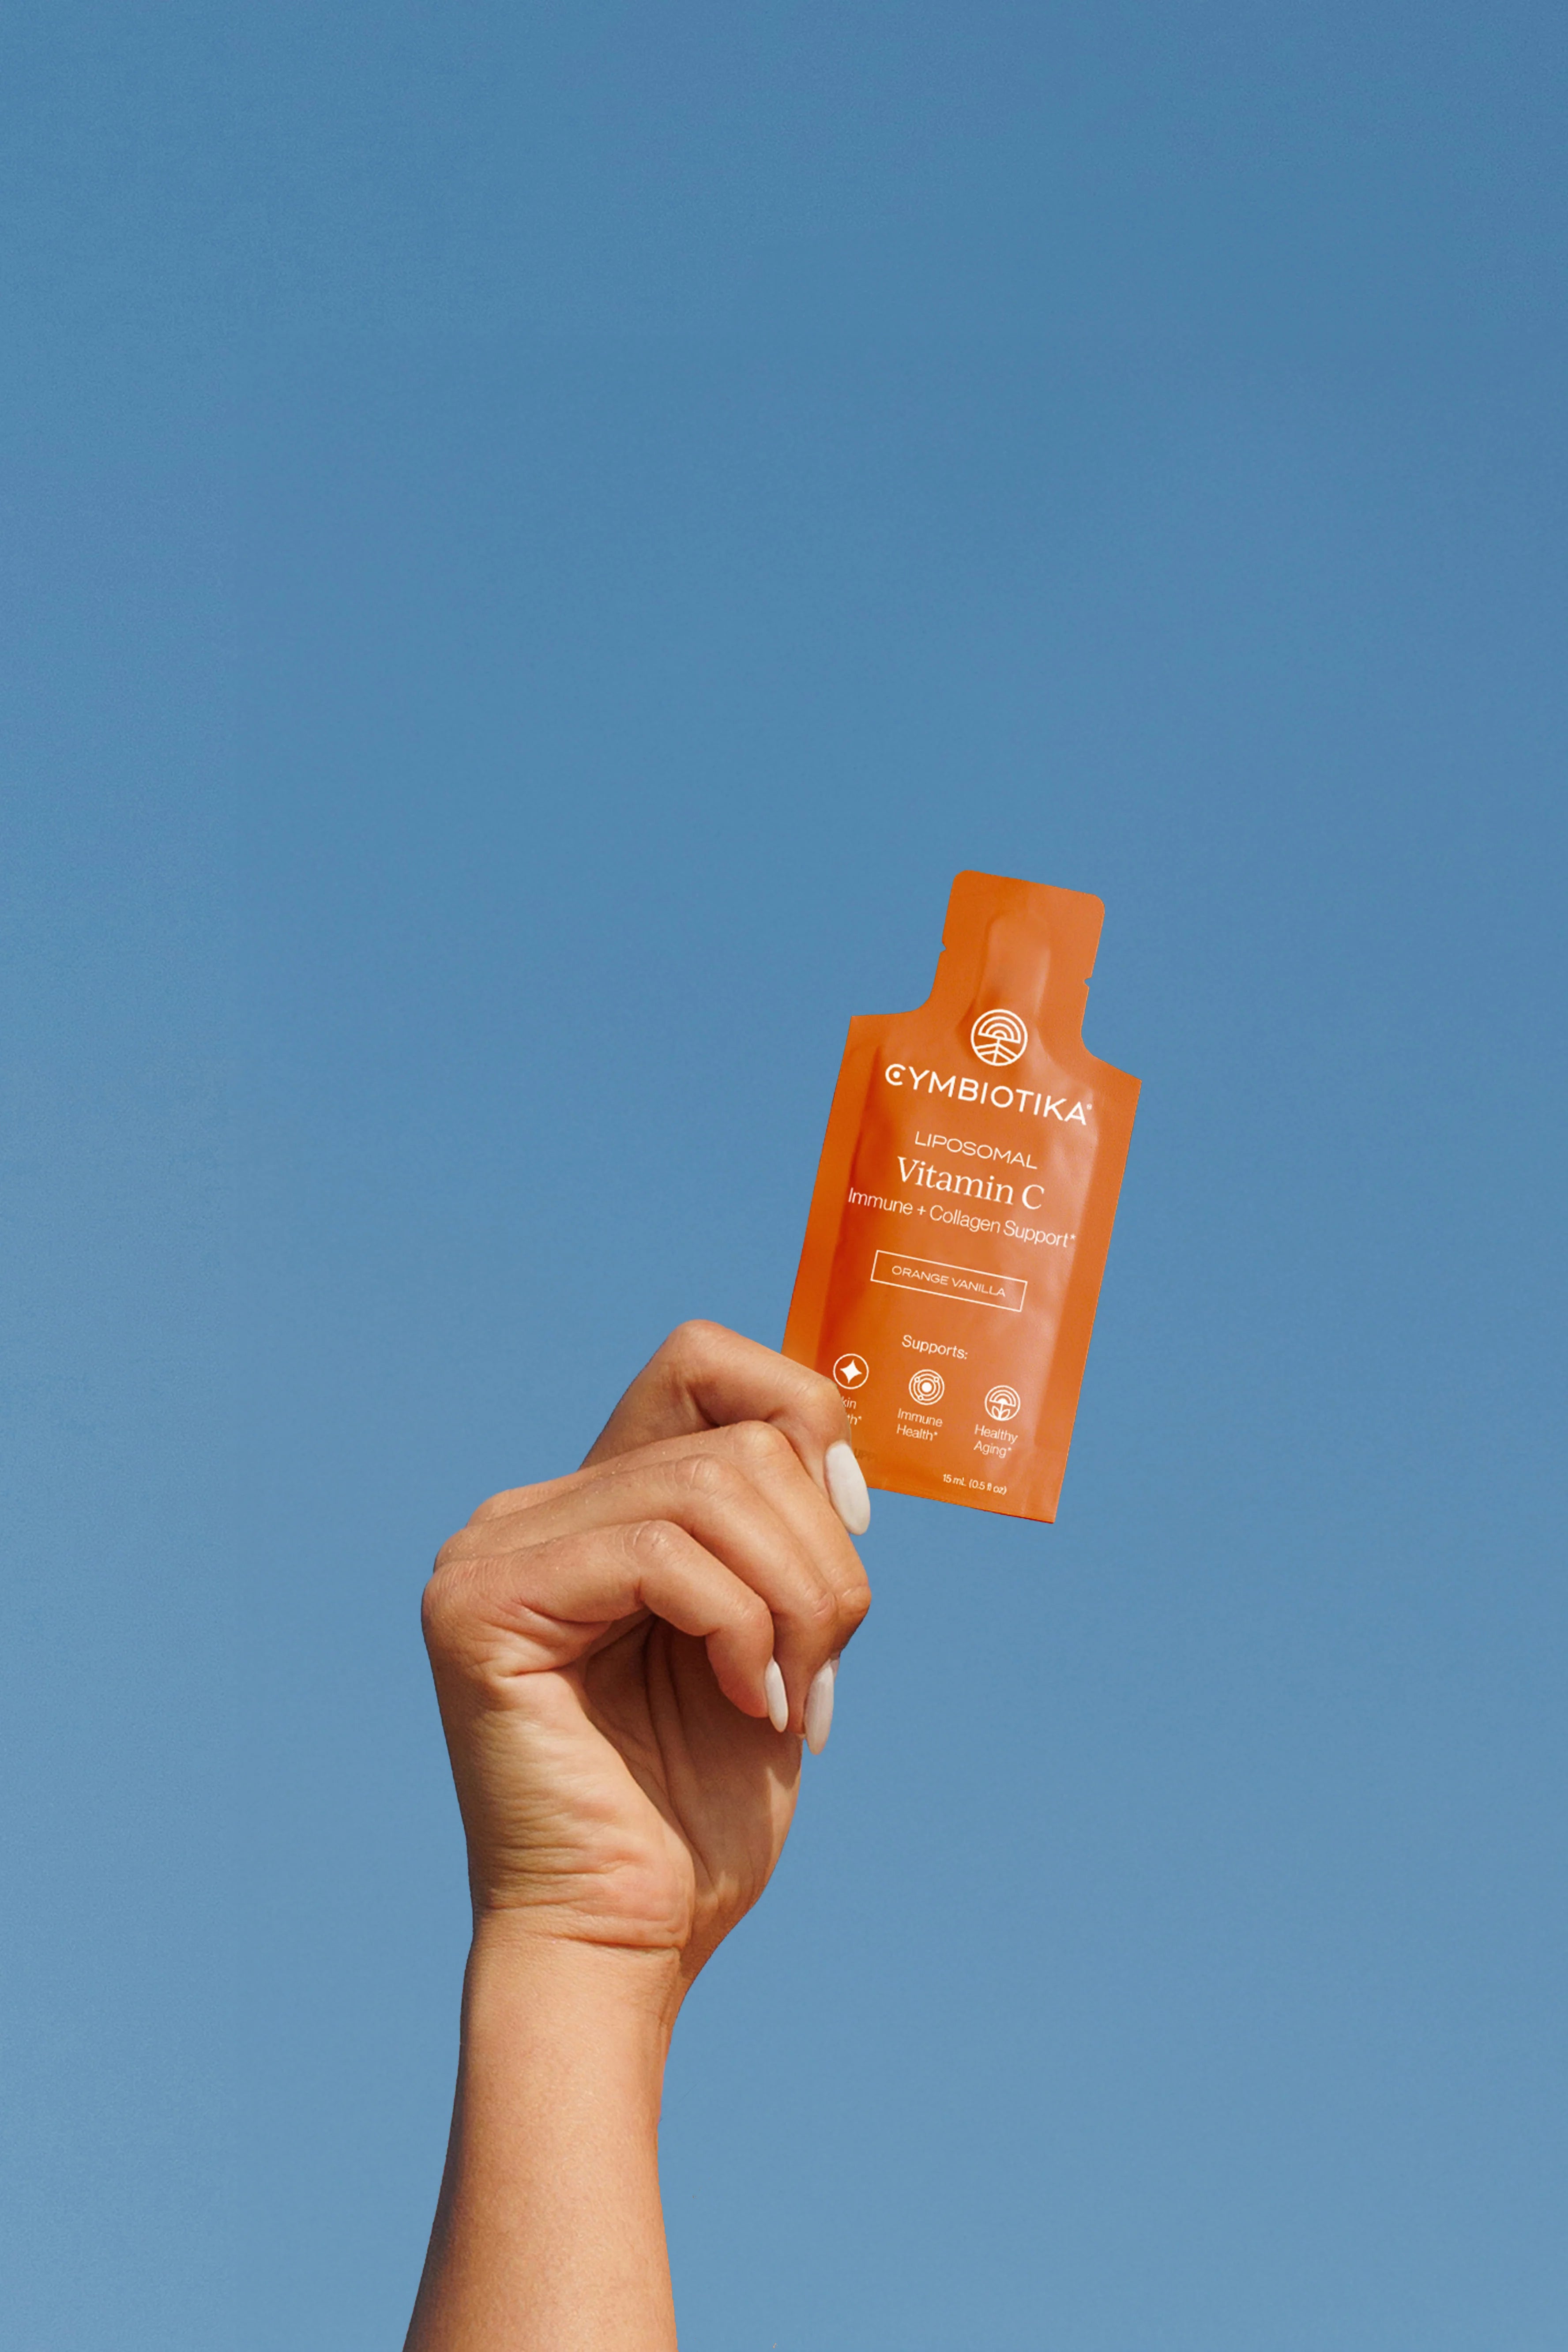
When you combine a pose that supports circulation with nutrients designed for high bioavailability, you are creating a comprehensive environment for wellness. Whether it is Vitamin C for immune support or NMN for cellular energy, the goal is always to make sure your body can use what you give it.
Addressing Common Questions
Many people wonder if they can do this pose if they aren't flexible. The answer is a resounding yes. Because the wall supports your legs, you don't need the strength or flexibility required for traditional yoga. It is a "passive" stretch, meaning gravity does the work for you.
Another common question is about the duration. While 10 to 15 minutes is a common recommendation, even 2 or 3 minutes can provide a noticeable shift in your energy levels. The key is to stay long enough that your heart rate begins to slow and your breathing becomes deep and rhythmic.
Note: If you have specific health concerns related to blood pressure or eye pressure, it is always best to consult with a healthcare professional before starting a regular inversion practice.
Why Quality Matters in Your Routine
In both movement and supplementation, quality is the deciding factor in results. A poorly performed yoga pose might cause more strain than relief, just as a low-quality supplement might provide more fillers than benefits.
At Cymbiotika, we are dedicated to transparency and science-forward formulations. We believe that you deserve to know exactly what is going into your body. That is why we use third-party testing and avoid synthetic fillers or hidden ingredients. Our mission is to empower you with the tools to build a routine that actually works, starting with the highest-quality ingredients sourced with integrity.
Wellness is not about a single "miracle" habit; it is about the intersection of many small, high-quality choices. Learning how to do legs up the wall yoga pose is one of those choices. Choosing bioavailable, clean supplements is another. Together, they form a foundation for long-term health.
Conclusion
The legs up the wall pose is a testament to the fact that wellness does not have to be complicated. By simply changing your physical perspective and allowing gravity to assist your body's natural processes, you can support your circulation, nervous system, and overall sense of calm.
- Start with just 5 minutes a day to build the habit.
- Use props to ensure your body is fully supported and comfortable.
- Focus on deep, diaphragmatic breathing to maximize the parasympathetic response.
- Complement your physical practice with Liposomal Vitamin C and other bioavailable nutrients that support relaxation and cellular health.
By combining mindful movement with transparent, high-quality supplementation, you are taking an active role in your own recovery. We are here to support that journey with products designed for maximum impact and a philosophy rooted in trust and education.
If you are ready to take the next step in personalizing your wellness routine, we invite you to take our Health Quiz. It is designed to help you identify the specific nutrients your body needs to thrive, ensuring that your efforts in and out of the gym are fully supported.
FAQ
How long should I hold the legs up the wall pose?
Most people find that holding the pose for 10 to 15 minutes provides the best balance of relaxation and circulatory support. However, even a short 2 to 5-minute session can be beneficial for a quick mental reset during a busy day. Listen to your body and exit the pose if you feel any sharp pain or significant numbness in your legs.
Do my hips have to touch the wall for it to work?
No, your hips do not need to touch the wall, and for many people, it is actually more comfortable to keep them a few inches away. If your hamstrings are tight, forcing your hips to the wall can cause your lower back to arch uncomfortably. Focus on keeping your sacrum flat on the floor rather than getting your glutes as close to the wall as possible.
Can I do this pose every day?
Yes, legs up the wall is a gentle, restorative posture that can be practiced daily. Many people find it especially helpful as part of an evening wind-down routine to help transition the body into a restful state before sleep. If sleep is part of your reset, explore our Sleep Supplements collection.
What should I do if my feet fall asleep during the pose?
It is common to feel a slight tingling or "pins and needles" sensation in the feet due to the change in blood flow. If this happens, simply bend your knees and bring your feet down toward your hips for a few moments, or slide your legs down the wall. Once the sensation passes, you can extend your legs again or decide to end your session.
*These statements have not been evaluated by the Food and Drug Administration. This product is not intended to diagnose, treat, cure, or prevent any disease.