Table of Contents
- Introduction
- Understanding the Foundations of Plow Pose
- Preparing Your Body for Halasana
- A Step-by-Step Guide to Plow Pose
- Essential Safety Precautions and Alignment
- Modifications for Every Body
- The Role of Bioavailability in Physical Recovery
- Common Mistakes to Avoid
- Integrating Plow Pose into Your Routine
- How Movement and Nutrition Work Together
- Conclusion
- FAQ
Introduction
Finding a moment of stillness often requires more than just sitting quietly. For many, physical movement is the most effective way to quiet a busy mind and release tension held deep within the body. Why Is Yoga Good for Your Mind? Plow pose, or Halasana in Sanskrit, is a powerful yoga inversion that stretches the entire back of the body, from the neck down to the heels. It is a posture that demands focus, patience, and a deep respect for your physical limits.
At Cymbiotika, we believe that a truly effective wellness routine combines mindful movement with high-quality nutritional support. This guide is designed to help you understand how to do plow pose yoga with proper alignment and safety. We will explore the preparation required, the step-by-step process of entering the pose, and how to use modifications to make the practice accessible for your unique body.
By mastering the mechanics of this pose, you can support your spinal flexibility and find a sense of groundedness. Whether you are a regular practitioner or just starting your yoga journey, understanding the "how" and "why" behind the movement ensures you get the most out of every session.
Understanding the Foundations of Plow Pose
Plow pose is often practiced toward the end of a yoga session when the body is sufficiently warm. The name comes from the shape the body takes—resembling a traditional plow used in agriculture. In this pose, you lie on your back, lift your legs over your head, and rest your toes on the floor behind you. It is considered an inversion because your heart is positioned higher than your head.
Because this pose involves a deep fold of the spine and places weight on the shoulders, it requires a foundation of strength and flexibility. It is not a movement to rush into. Instead, think of it as a gradual deepening of your relationship with your body's posterior chain. The posterior chain includes all the muscles on the back of your body, including the calves, hamstrings, glutes, and the muscles surrounding the spine.
Key Takeaway: Plow pose is a restorative inversion that targets the entire back of the body, requiring a warmed-up spine and focused breath to perform safely.
Preparing Your Body for Halasana
You should never attempt plow pose without first preparing your muscles and joints. A cold body is less pliable, which increases the risk of strain. Focus your warm-up on the neck, shoulders, and hamstrings.
Warming Up the Spine
Start with gentle movements like Cat-Cow stretches. While on your hands and knees, inhale as you drop your belly and look up, then exhale as you round your spine toward the ceiling. This helps "wake up" the vertebrae and the supporting muscles. Follow this with a few rounds of Downward-Facing Dog to begin opening the hamstrings and calves.
Opening the Shoulders
Since the shoulders serve as the primary base of support in plow pose, they must be mobile and stable. Practice shoulder rolls and gentle chest openers. Clasping your hands behind your back and gently lifting your arms can help prepare the chest and front of the shoulders for the compression they will experience in the pose.
Engaging the Core
A strong core is essential for lifting the legs and hips into the air with control. Planks or leg lifts are excellent for activating the abdominal muscles. When your core is engaged, you rely less on momentum and more on controlled strength, which protects the lower back.
A Step-by-Step Guide to Plow Pose
Step 1: Lay the foundation. / Lie flat on your back on a firm yoga mat with your arms by your sides and palms facing down. Ensure your neck is in a neutral position and avoid using a thick pillow under your head, as this can overstretch the cervical spine once you are in the pose.
Step 2: Lift the legs. / Use your lower abdominal strength to lift both legs toward the ceiling until they are at a 90-degree angle with your torso. Keep your feet flexed and your legs as straight as possible without locking your knees.
Step 3: Elevate the hips. / Press your palms firmly into the floor. On an exhale, use your core to lift your hips off the mat, bringing your legs back toward your head. You can place your hands on your lower back for support as you transition.
Step 4: Lower the toes. / Continue to move your feet over your head until your toes touch the floor behind you. If your toes do not reach the floor, keep your hands on your back for support and do not force the movement.
Step 5: Align the torso. / Once your toes are tucked on the floor, try to lift your sit bones toward the ceiling. This helps straighten the spine and move the weight onto the tops of your shoulders rather than your neck.
Step 6: Choose your arm position. / If your toes are comfortably touching the ground and your back feels stable, you can release your hands from your back. You may leave them flat on the floor or interlace your fingers and press your arms down into the mat to create more lift in the torso.
Bottom line: Controlled entry into plow pose using core strength rather than momentum is the safest way to protect the spine and neck.
Essential Safety Precautions and Alignment
Proper alignment is the difference between a beneficial stretch and a potential injury. The most critical rule in plow pose is to never turn your head from side to side while in the position. Turning the head while the neck is under compression can lead to significant strain.
Protecting the Neck
The weight of your body should rest on the bony parts of your shoulders, not on the delicate vertebrae of your neck. If you feel any sharp pain or excessive pressure in the cervical spine, you should exit the pose immediately. Many practitioners find that placing a folded yoga blanket under the shoulders (with the head resting on the floor off the blanket) provides enough space for the neck to remain safe.
Breathing in Compression
Because the chest is folded toward the chin, you might find that breathing feels slightly more restricted. Do not panic. Focus on sending your breath into the back of your ribcage. Maintaining a steady, rhythmic breath helps calm the nervous system and signals to the muscles that it is safe to relax into the stretch.
Modifications for Every Body
Not everyone has the flexibility to touch their toes to the floor on day one. In fact, for many, the floor may feel miles away. This is where props become your best friend. Using modifications allows you to experience the benefits of the inversion without overextending your muscles.
Using a Chair or Blocks
If your feet do not reach the floor, place a chair or a stack of yoga blocks behind your head. Rest your feet on the chair seat or the blocks instead of the floor. This provides a stable base and allows your hamstrings to stretch gradually. It also takes the pressure off the lower back.
The Half-Plow Variation
If lifting the hips fully feels too intense, you can practice a "half-plow." In this version, you keep your legs parallel to the floor, supported by your hands on your lower back. This builds the core and shoulder strength necessary for the full expression of the pose over time.
Wall-Supported Plow
Performing this pose with your back to a wall can offer extra stability. You can walk your feet down the wall until you reach a height that feels challenging but sustainable. The wall acts as a safety net and helps you maintain better alignment in the hips and spine.
The Role of Bioavailability in Physical Recovery
While physical practice builds strength and flexibility, what happens off the mat is just as important. For your muscles to recover and your joints to remain supple, your body requires specific nutrients. However, not all supplements are created equal. The effectiveness of any nutrient depends entirely on its bioavailability—the degree to which it is absorbed and used by your body.
Standard capsules and tablets often have low absorption rates because they are broken down by the digestive system before the nutrients can reach the bloodstream. We address this challenge by using advanced delivery systems, such as liposomal technology. A liposomal delivery system uses a phospholipid bilayer—the same material our cell membranes are made of—to wrap the nutrient. This allows the nutrient to bypass the harsh environment of the stomach and be delivered directly to the cells.
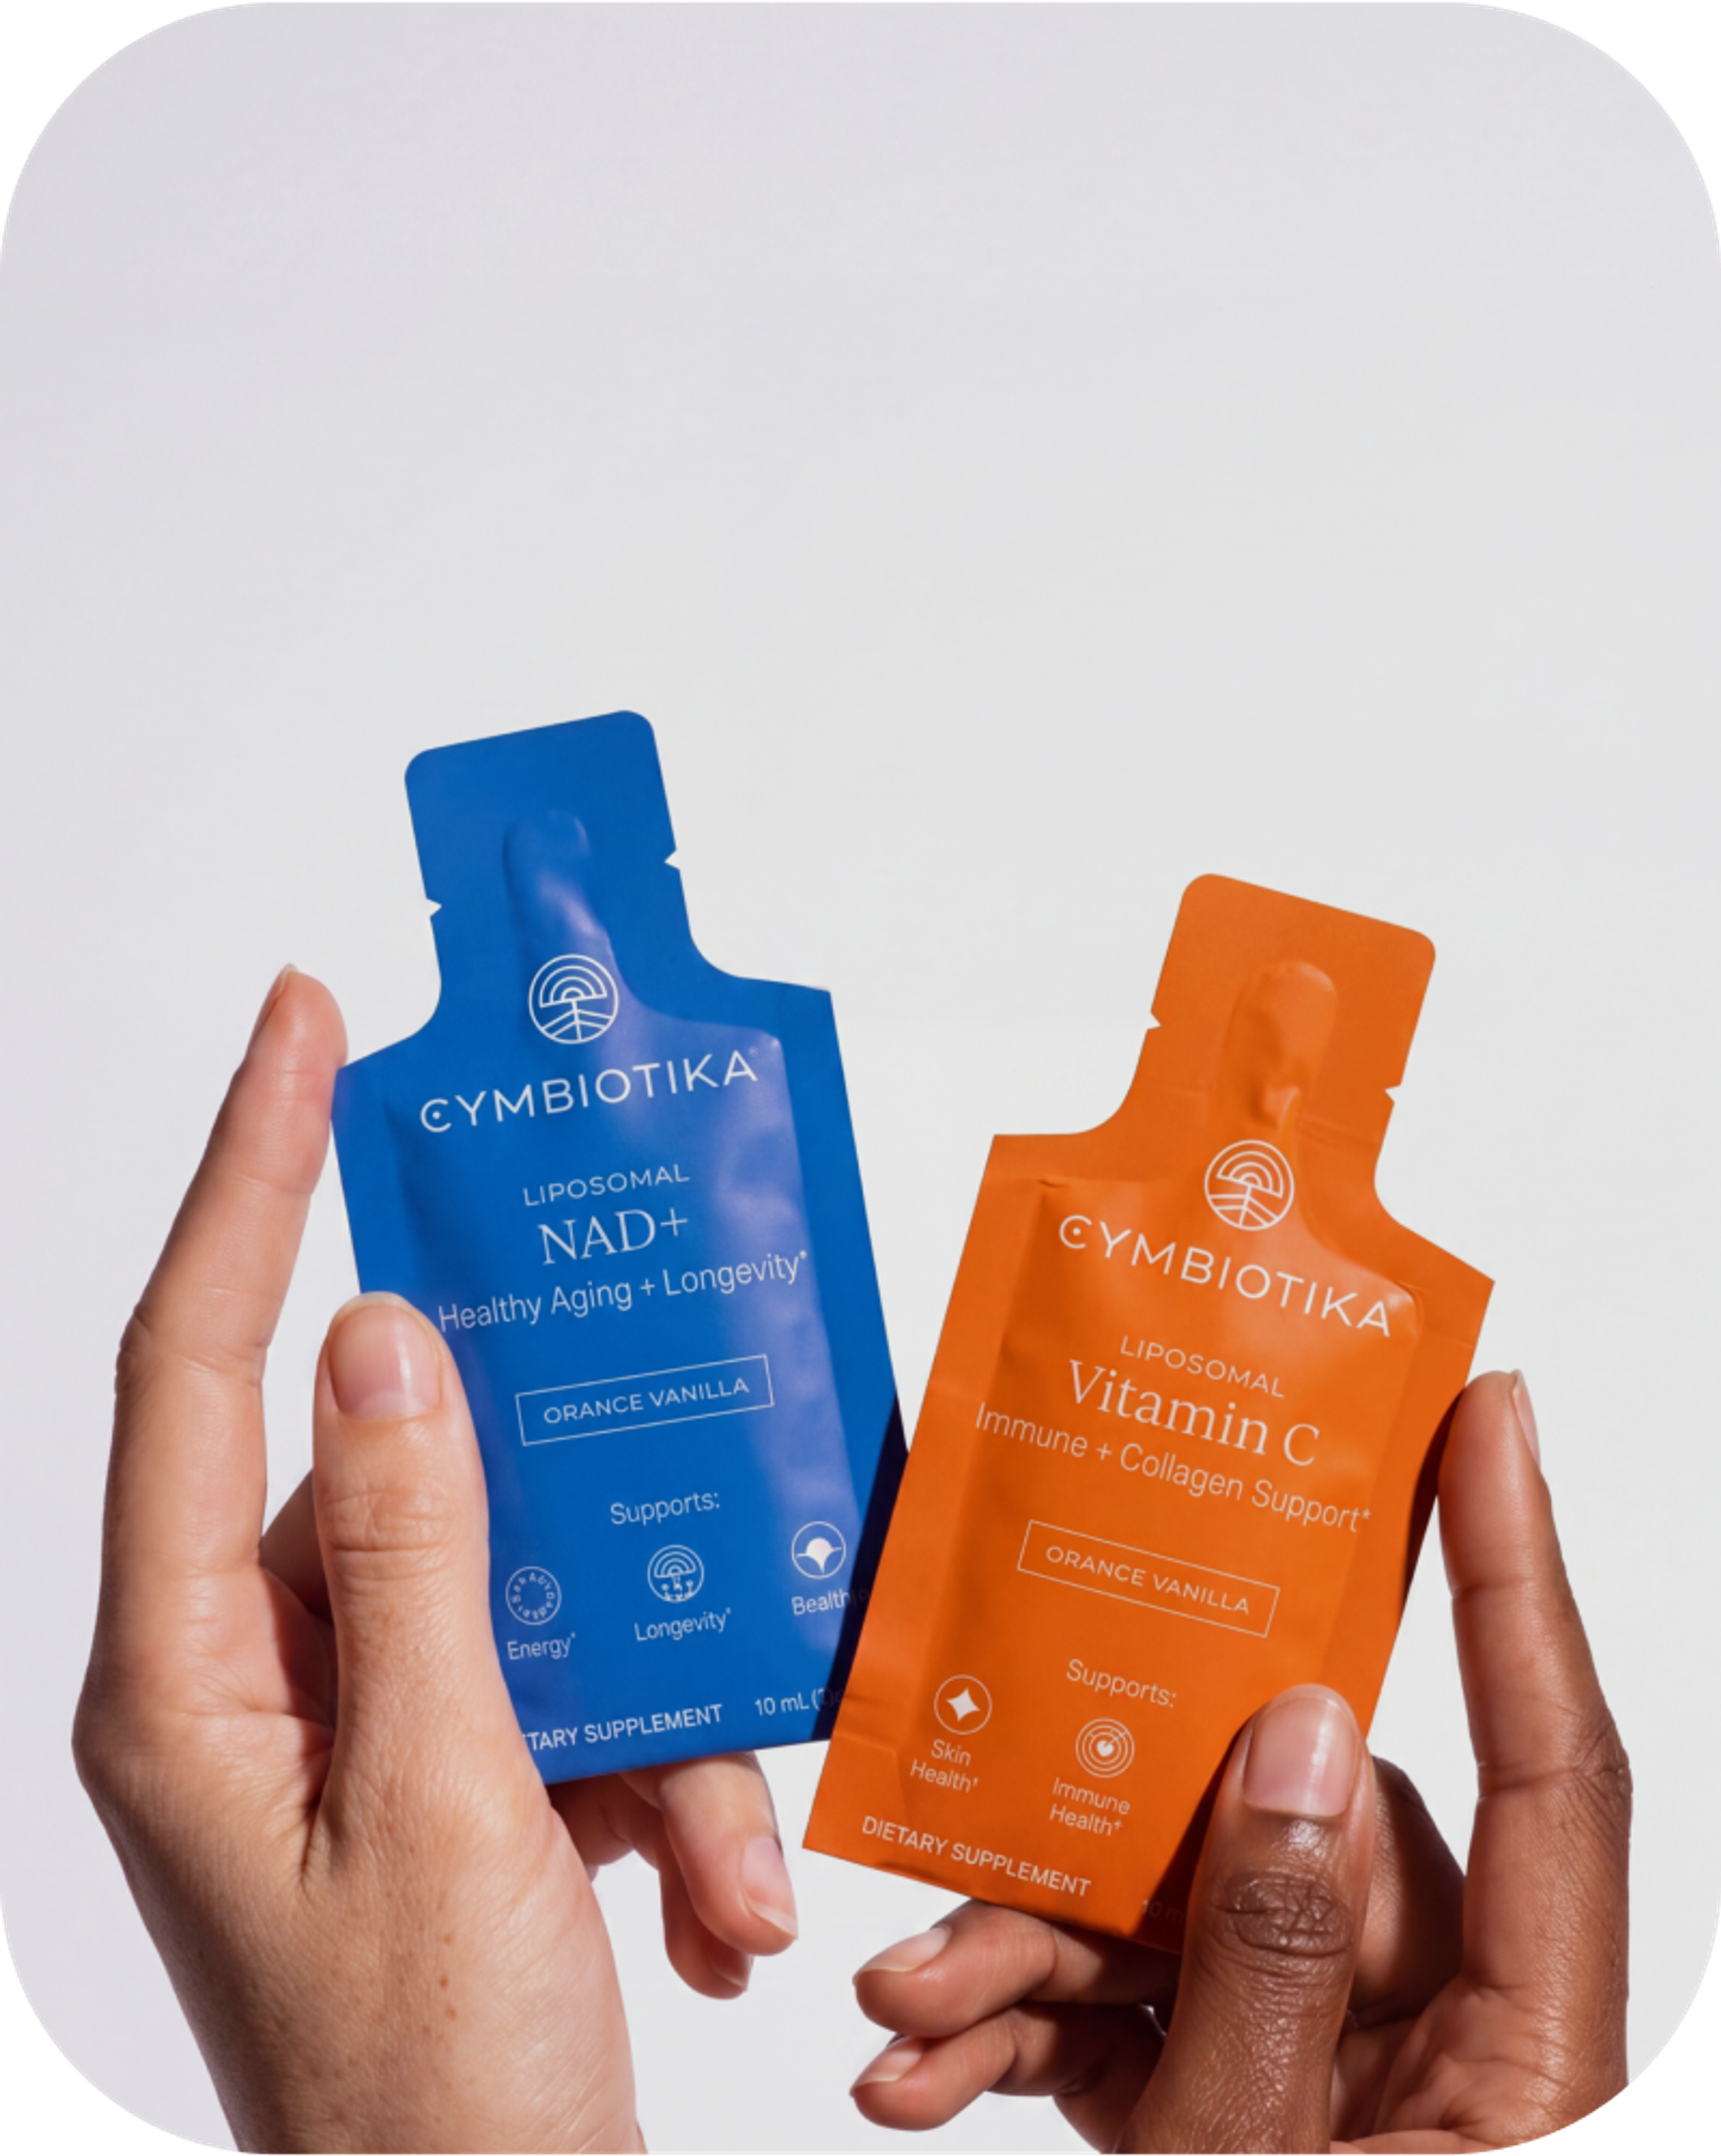
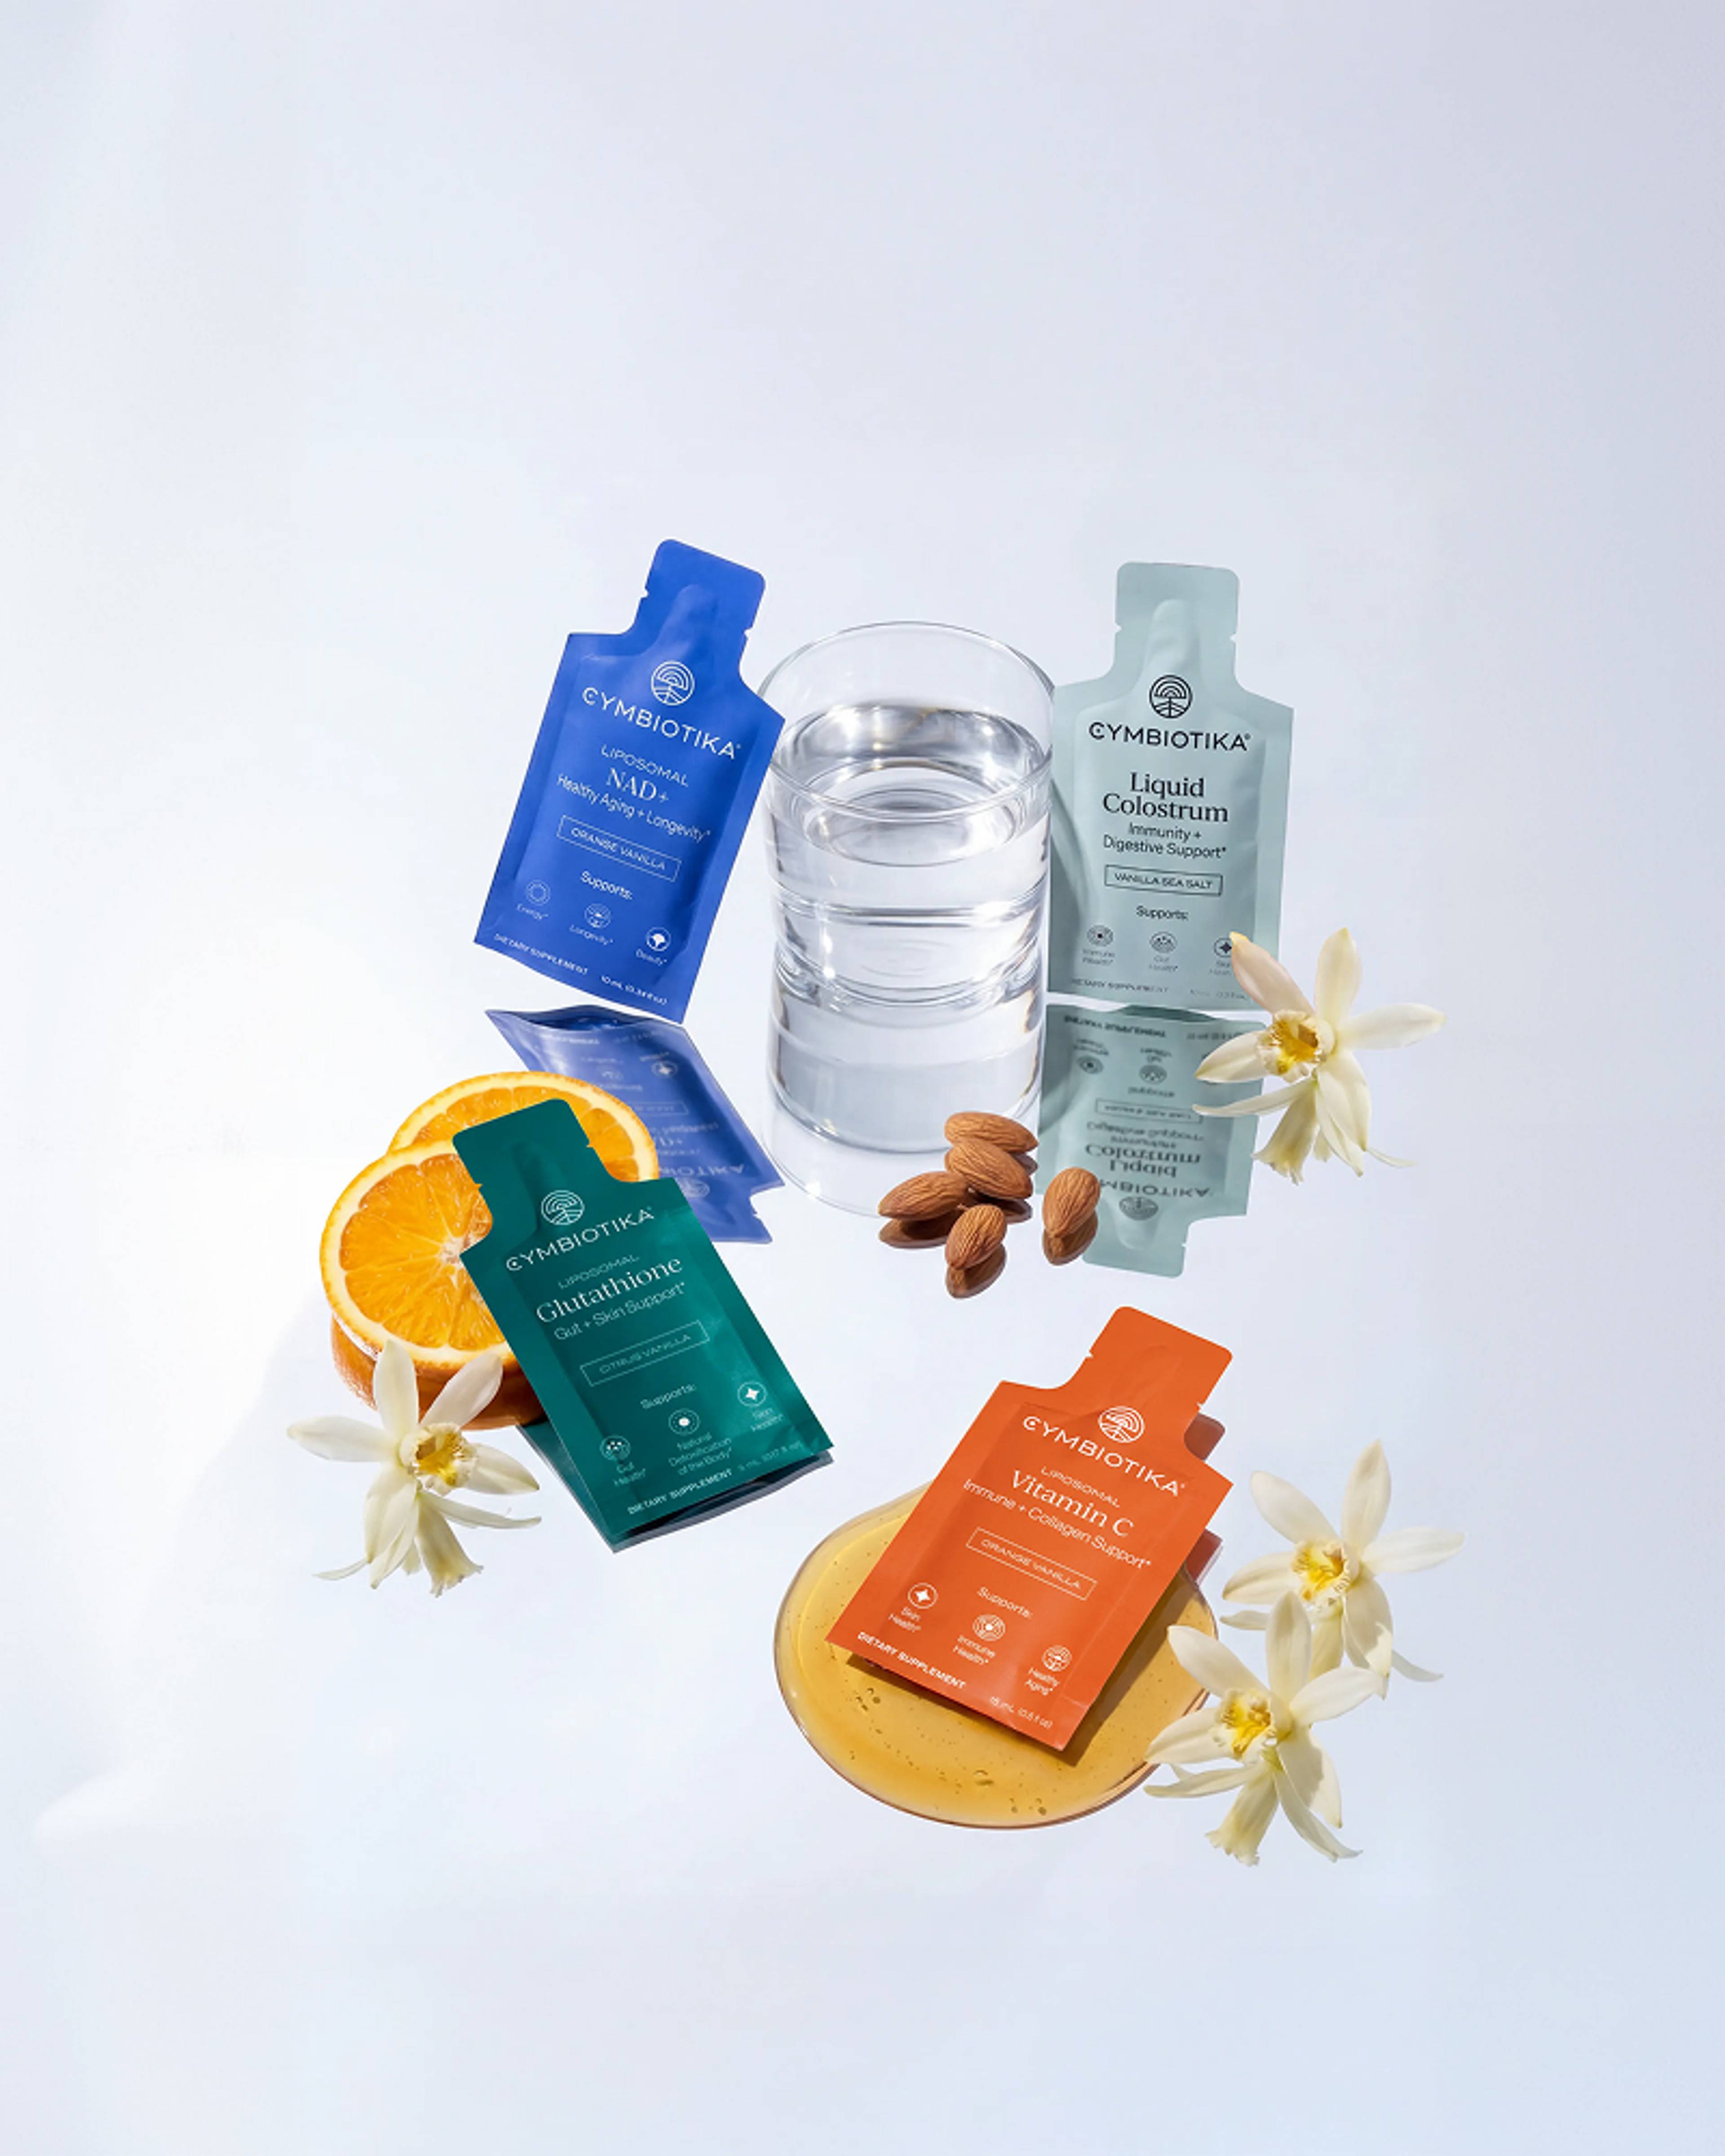
When you are practicing demanding poses like Halasana, supporting your body with bioavailable nutrients can make a difference. For example, Liposomal Magnesium Complex is designed to support muscle relaxation and nervous system health, while Liposomal Vitamin C supports a broader recovery routine. Ensuring these nutrients are actually absorbed is the key to a successful long-term wellness routine.
Key Takeaway: The benefits of yoga are maximized when the body has the bioavailable building blocks it needs for cellular repair and muscle recovery.
Common Mistakes to Avoid
Even experienced yogis can fall into habits that compromise the integrity of plow pose. Being aware of these common pitfalls can help you refine your practice.
- Collapsing the Chest: It is common to let the chest cave in, which puts more pressure on the lungs and neck. Focus on keeping the collarbones wide and lifting the sternum toward the chin.
- Forcing the Feet to the Floor: Reaching the floor is not the "goal" of the pose. The goal is a healthy spinal stretch. Forcing the feet down can cause the lower back to round painfully.
- Bending the Knees Excessively: While a slight micro-bend is okay, keeping the legs active and engaged helps support the weight of the lower body. If the knees collapse toward the face, it can create a feeling of claustrophobia and disrupt your alignment.
- Holding the Breath: Tension often leads to breath-holding. If you cannot breathe comfortably, you have likely gone too deep into the pose. Back off slightly until your breath returns to a natural flow.
Integrating Plow Pose into Your Routine
Consistency is more important than intensity. You do not need to do plow pose for ten minutes every day. Instead, try incorporating it into a 20-minute evening routine two or three times a week. Because it is a cooling and grounding pose, it is particularly effective before bed to help signal to the body that it is time to wind down.
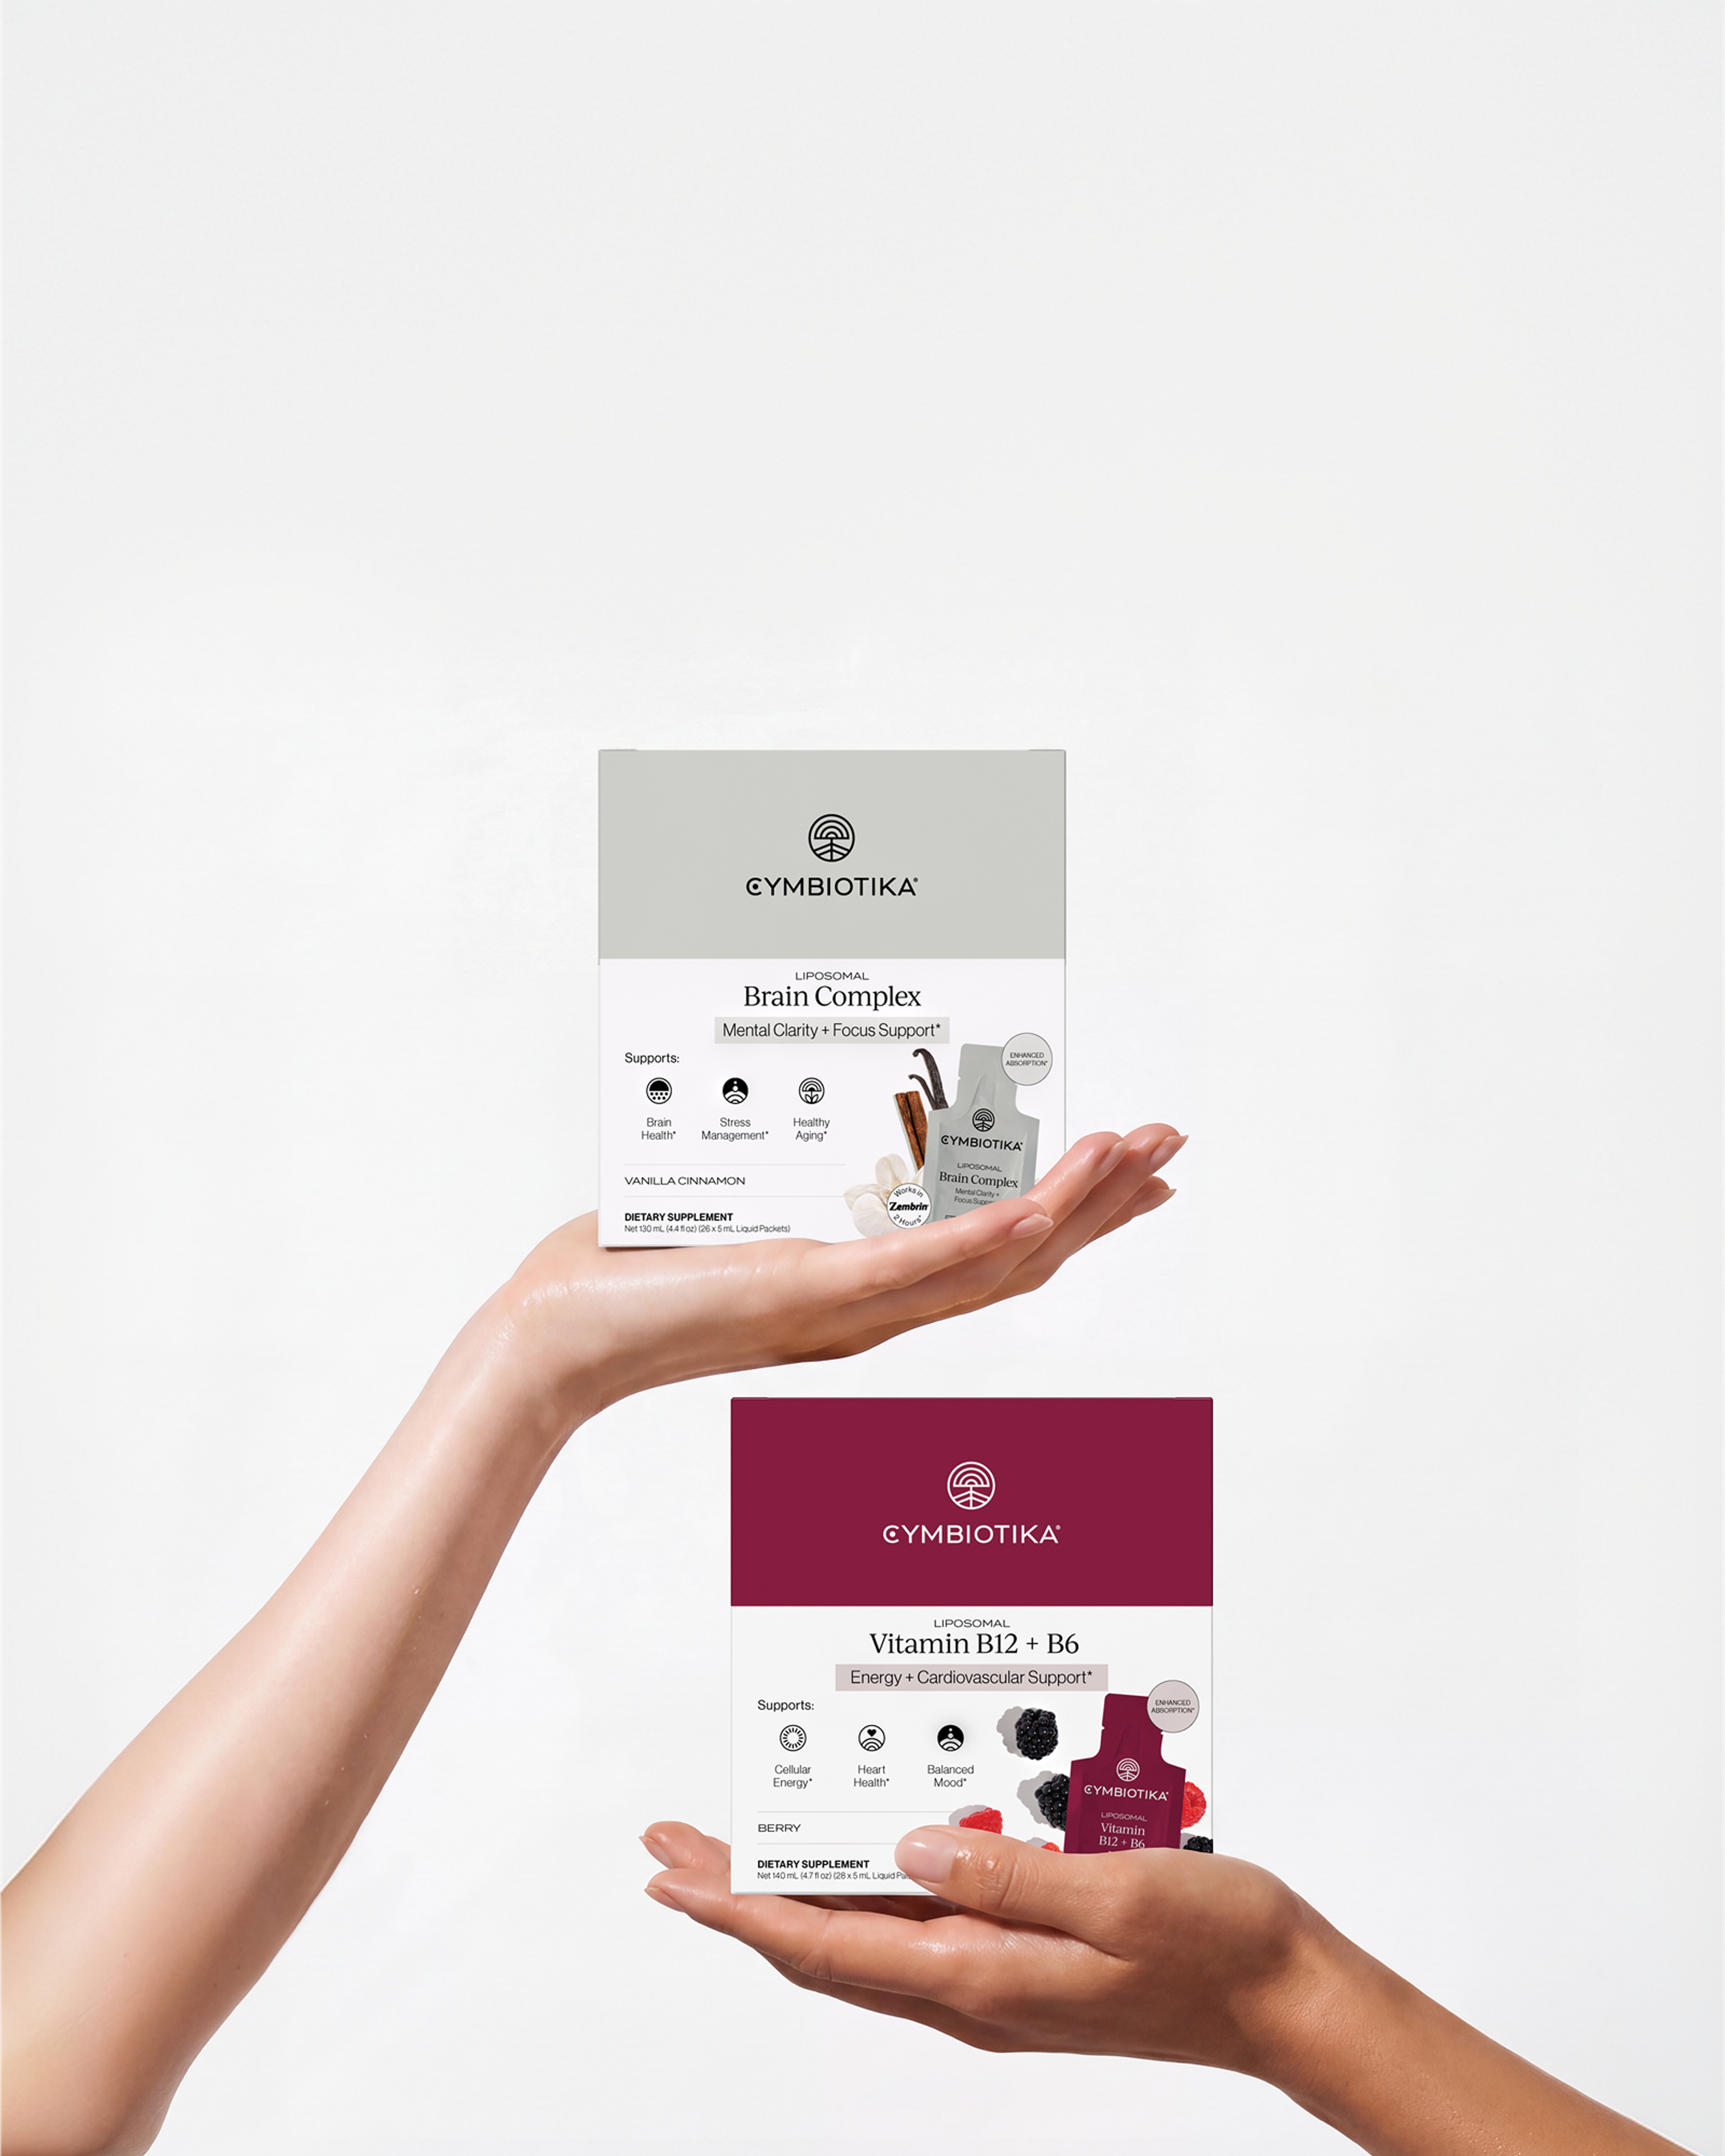
Pairing your physical practice with a consistent supplement schedule can further support your goals. Our Magnesium Complex is designed to support muscle and nervous system health, making it an excellent addition to an evening routine that includes restorative yoga. For a broader look at what supports recovery across your wellness routine, explore the Healthy Aging Supplements collection.
Bottom line: A sustainable yoga practice is built on the combination of mindful technique and high-quality internal support that the body can actually absorb.
How Movement and Nutrition Work Together
Wellness is not a single action; it is an ecosystem. When you perform plow pose, you are physically manipulating the tissues of your body. This creates a demand for nutrients like Vitamin C for collagen synthesis and Vitamin D3 for bone health.
Our approach at Cymbiotika focuses on this intersection of movement and nutrition. We believe that when you give your body the cleanest, most absorbable ingredients, your physical efforts yield better results. Whether you are working on your plow pose or training for a marathon, the principle remains the same: bioavailability matters. When your body doesn't have to fight to absorb its fuel, it can focus its energy on performing and recovering. If you want to build a broader routine around that idea, start with the Cymbiotika Expert quiz to find a personalized path.
Conclusion
Mastering how to do plow pose yoga is a journey of patience and body awareness. By focusing on proper alignment, using props when necessary, and respecting the limits of your neck and spine, you can safely enjoy the deep stretch and mental clarity this pose offers. Remember that the progress you make on your mat is supported by the choices you make in your daily life—including how you fuel your body.
At Cymbiotika, we are dedicated to providing the transparency and quality you need to build a wellness routine you can trust. From our third-party tested formulations to our commitment to high bioavailability, we aim to empower you with the tools for a healthier life. If you are unsure which supplements best support your unique physical goals, we encourage you to take our Health Quiz. It is a simple way to receive personalized recommendations designed to help you thrive.
"Wellness is the result of small, consistent choices that honor both the body's need for movement and its requirement for high-quality, absorbable nutrition."
FAQ
Is plow pose safe for beginners?
Plow pose can be safe for beginners if practiced with caution and the use of modifications, such as resting the feet on a chair or using a blanket under the shoulders. It is essential to listen to your body and avoid forcing the feet to the floor if the hamstrings or back feel too tight. Beginners should also be careful never to move their head once the pose is held.
How long should I hold plow pose?
For most practitioners, holding plow pose for 30 seconds to two minutes is sufficient to experience the benefits of the stretch and inversion. If you are new to the pose, start with shorter durations and focus on maintaining a steady breath. As your comfort and flexibility increase, you can gradually extend the time while ensuring no pressure builds up in the neck.
Who should avoid practicing plow pose?
Those with neck or spinal injuries, high blood pressure, or certain eye conditions should avoid plow pose unless cleared by a healthcare provider. Because the pose involves significant compression of the neck and an inverted blood flow, it may not be suitable for everyone. If you are pregnant or have chronic digestive issues, consult a yoga professional for safer alternatives. For a gentler starting point, you can explore Cymbiotika’s Energy & Focus collection or browse the all products collection for a routine that fits your goals.
Why do my legs feel heavy or tingle in this pose?
A sensation of heaviness or slight tingling can sometimes occur due to the nature of the inversion and the stretch of the sciatic nerve. However, if you feel sharp pain, numbness, or significant discomfort, you should slowly exit the pose. Focus on engaging your core and lifting your sit bones toward the ceiling to relieve unnecessary pressure on the lower body.
*These statements have not been evaluated by the Food and Drug Administration. This product is not intended to diagnose, treat, cure, or prevent any disease.